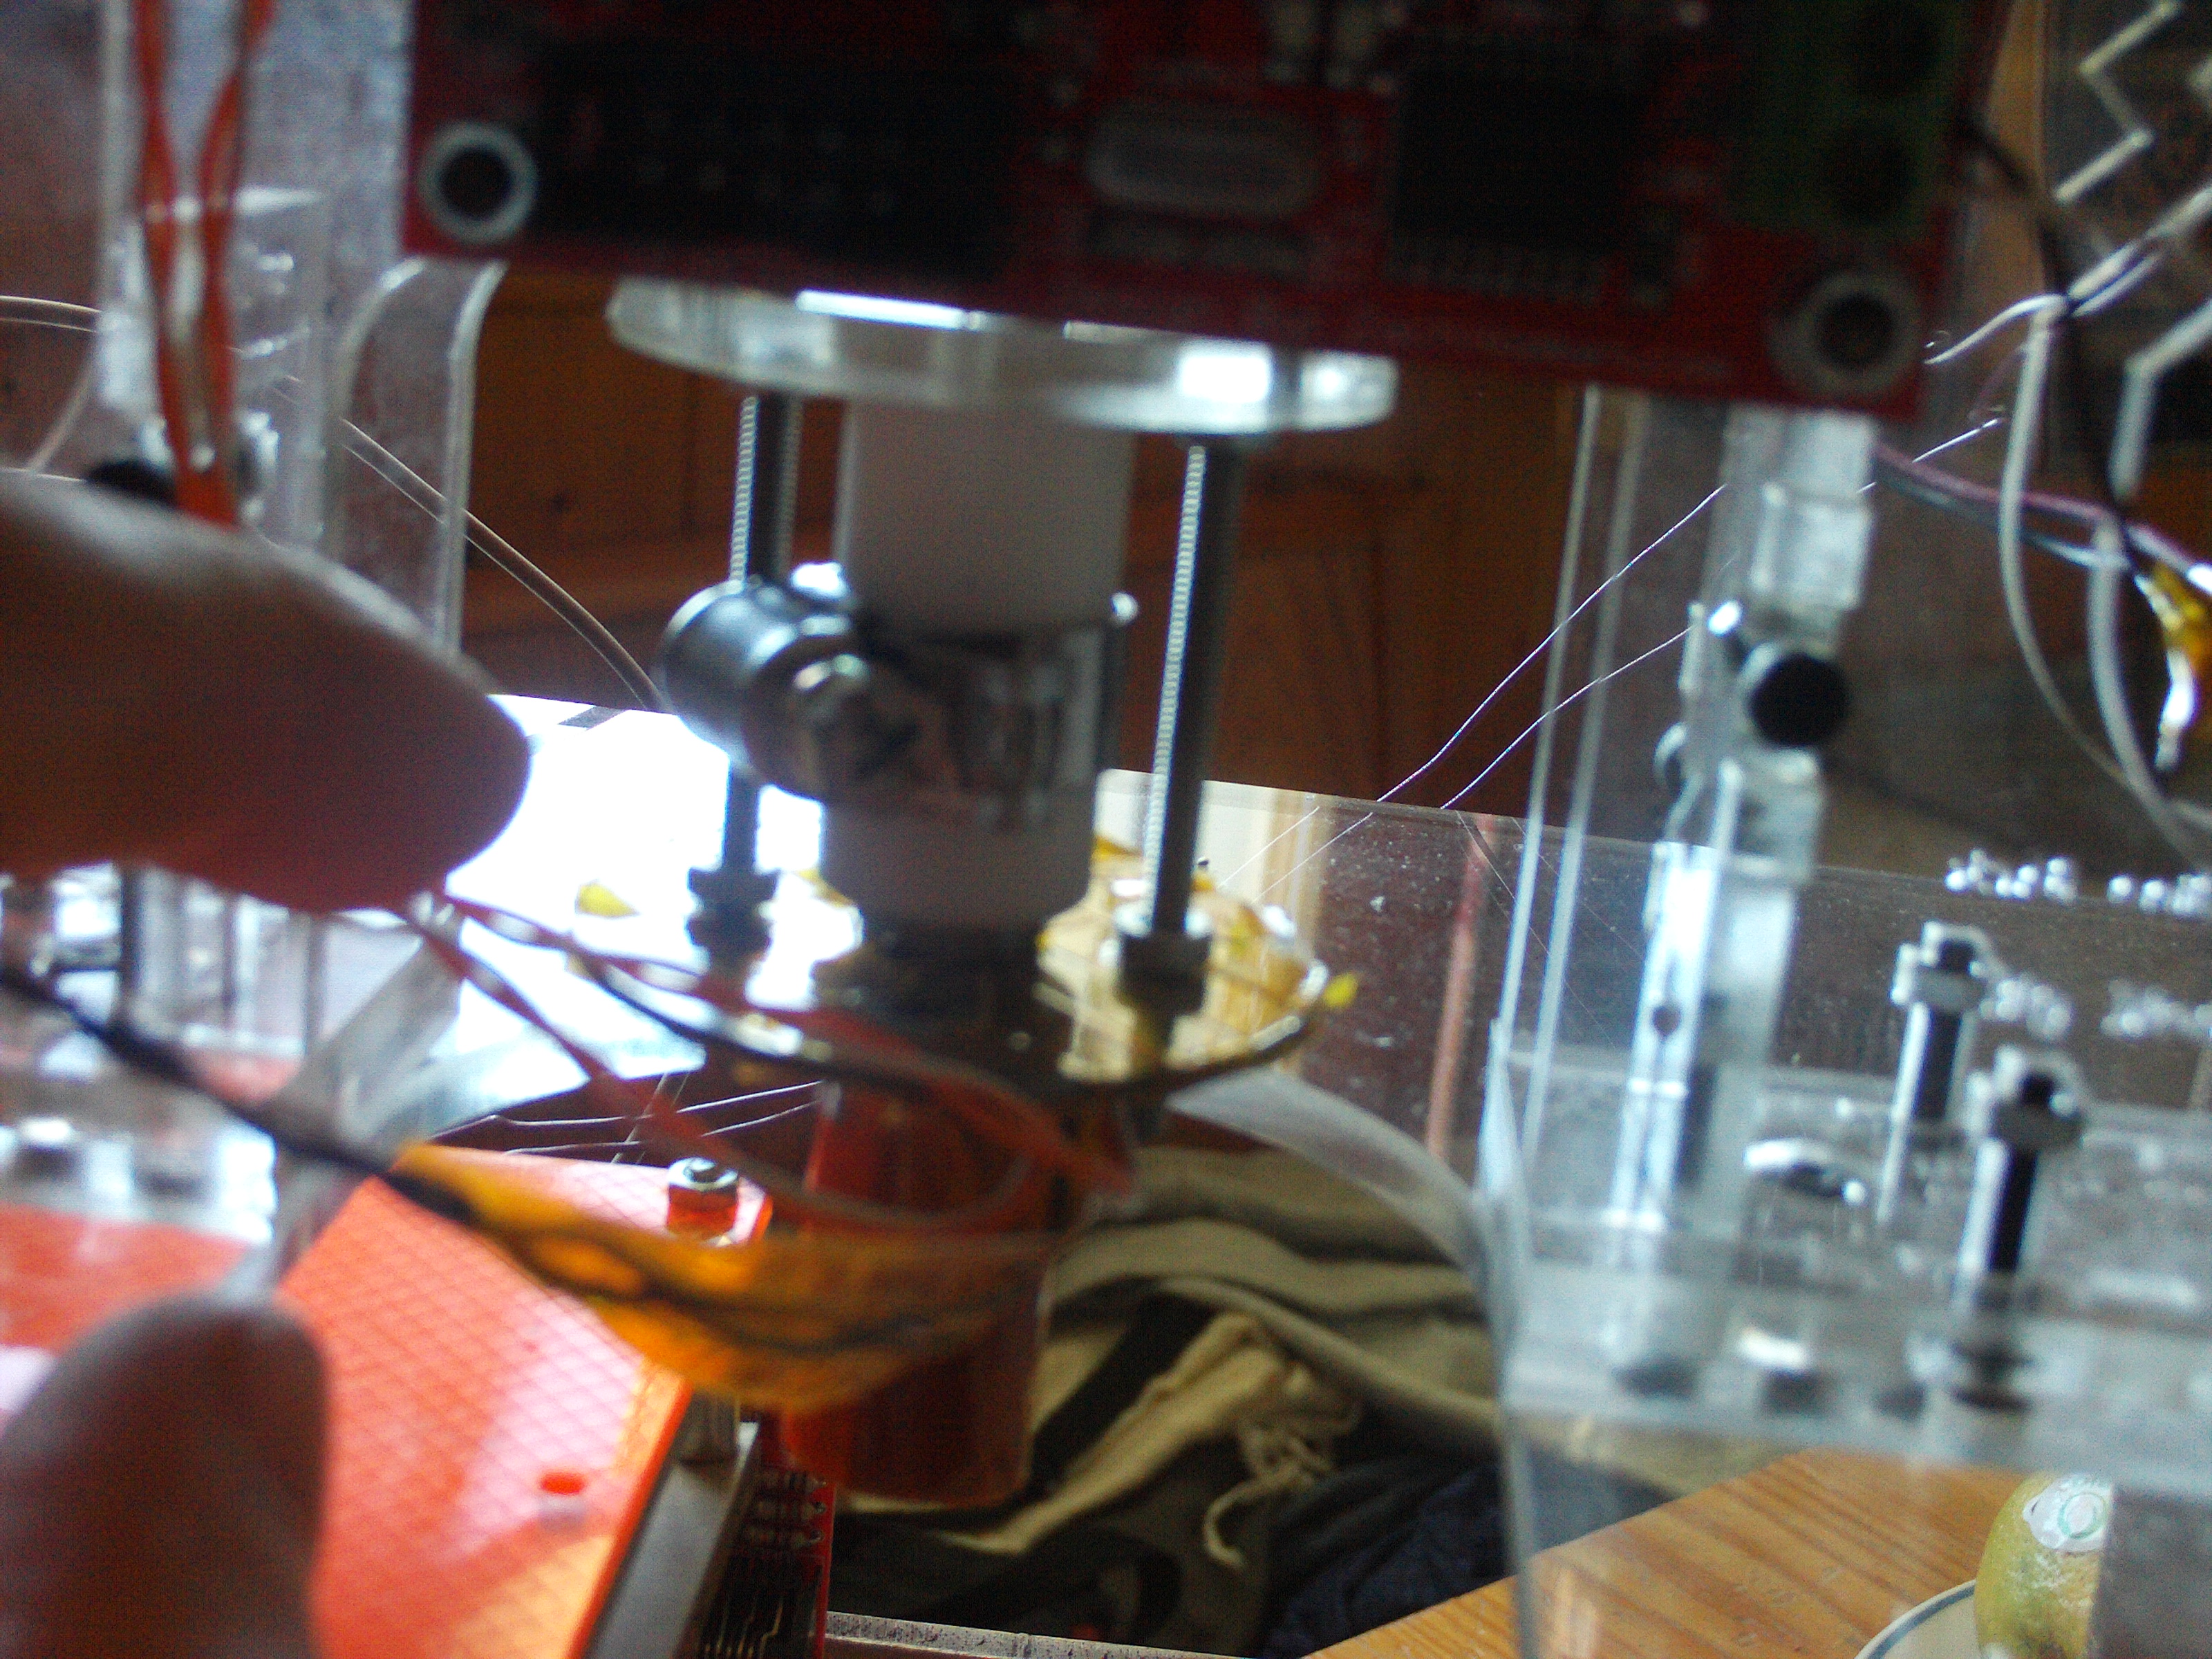
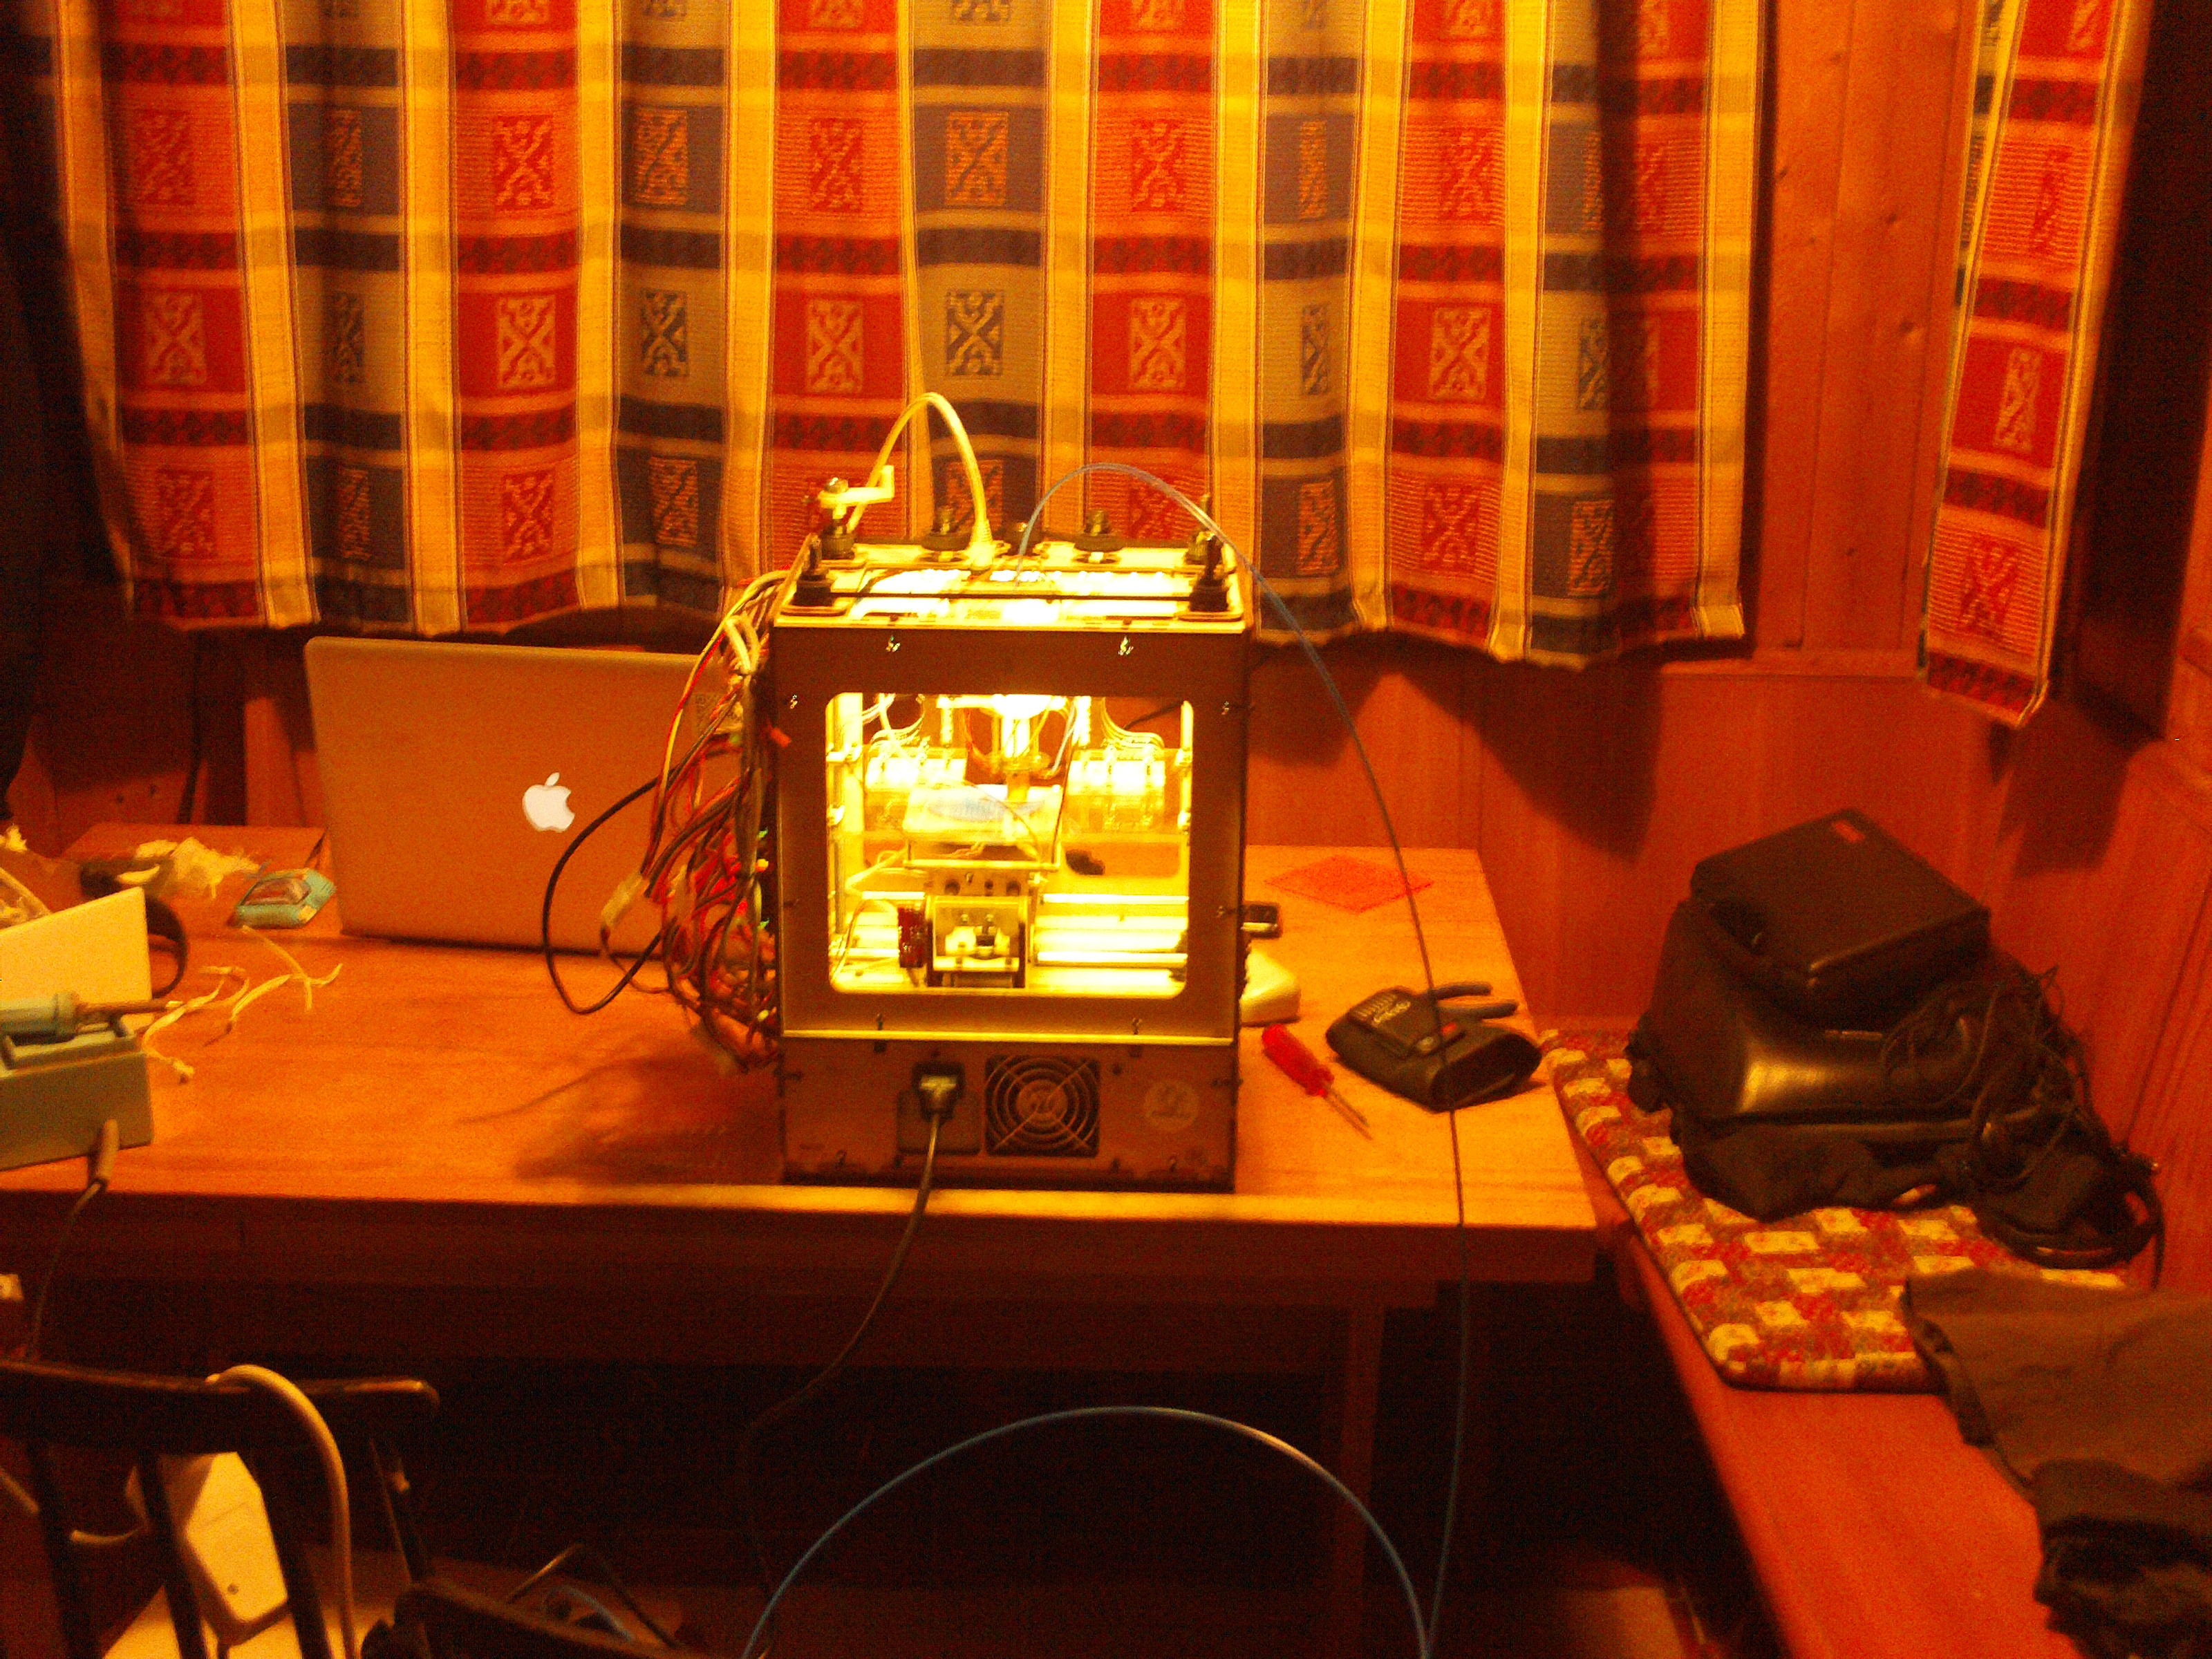
Because I think to power a Makerbot from a car battery, I spend a little while checking the power consumption of a Makerbot.
The main board connector feed the main logic, the plastruder and the heated platform, while the hard drive connectors feed motors and leds.
I used an old ATX connectors and made four groups of wires : 3v3, 5v, 12v and ground.
The remaining wires (5VSB, /PS_ON, PWR_OK, -12v and -5v) where directly connected to the main ATX power supply.
I did the same with hard drive connectors, I disconnected 5v, 12v and ground.
Then I plugged not less than 5 “multimeters” between each power source and ground to record all different current consumption.
So I wrote this sheet :
Voltage
Average
Maximum
MB 3v3
very few
very few
MB 5v
200mA
350mA
MB 12v
2700mA
3500mA
HD 5v
30mA
50mA
HD 12v
1000mA
1700mA
The average power consumption of a makerbot with heating platform seams to be around 70W and the maximum power consumption around 85W. Differences may apply due to the custom configuration, it’s just an overview.
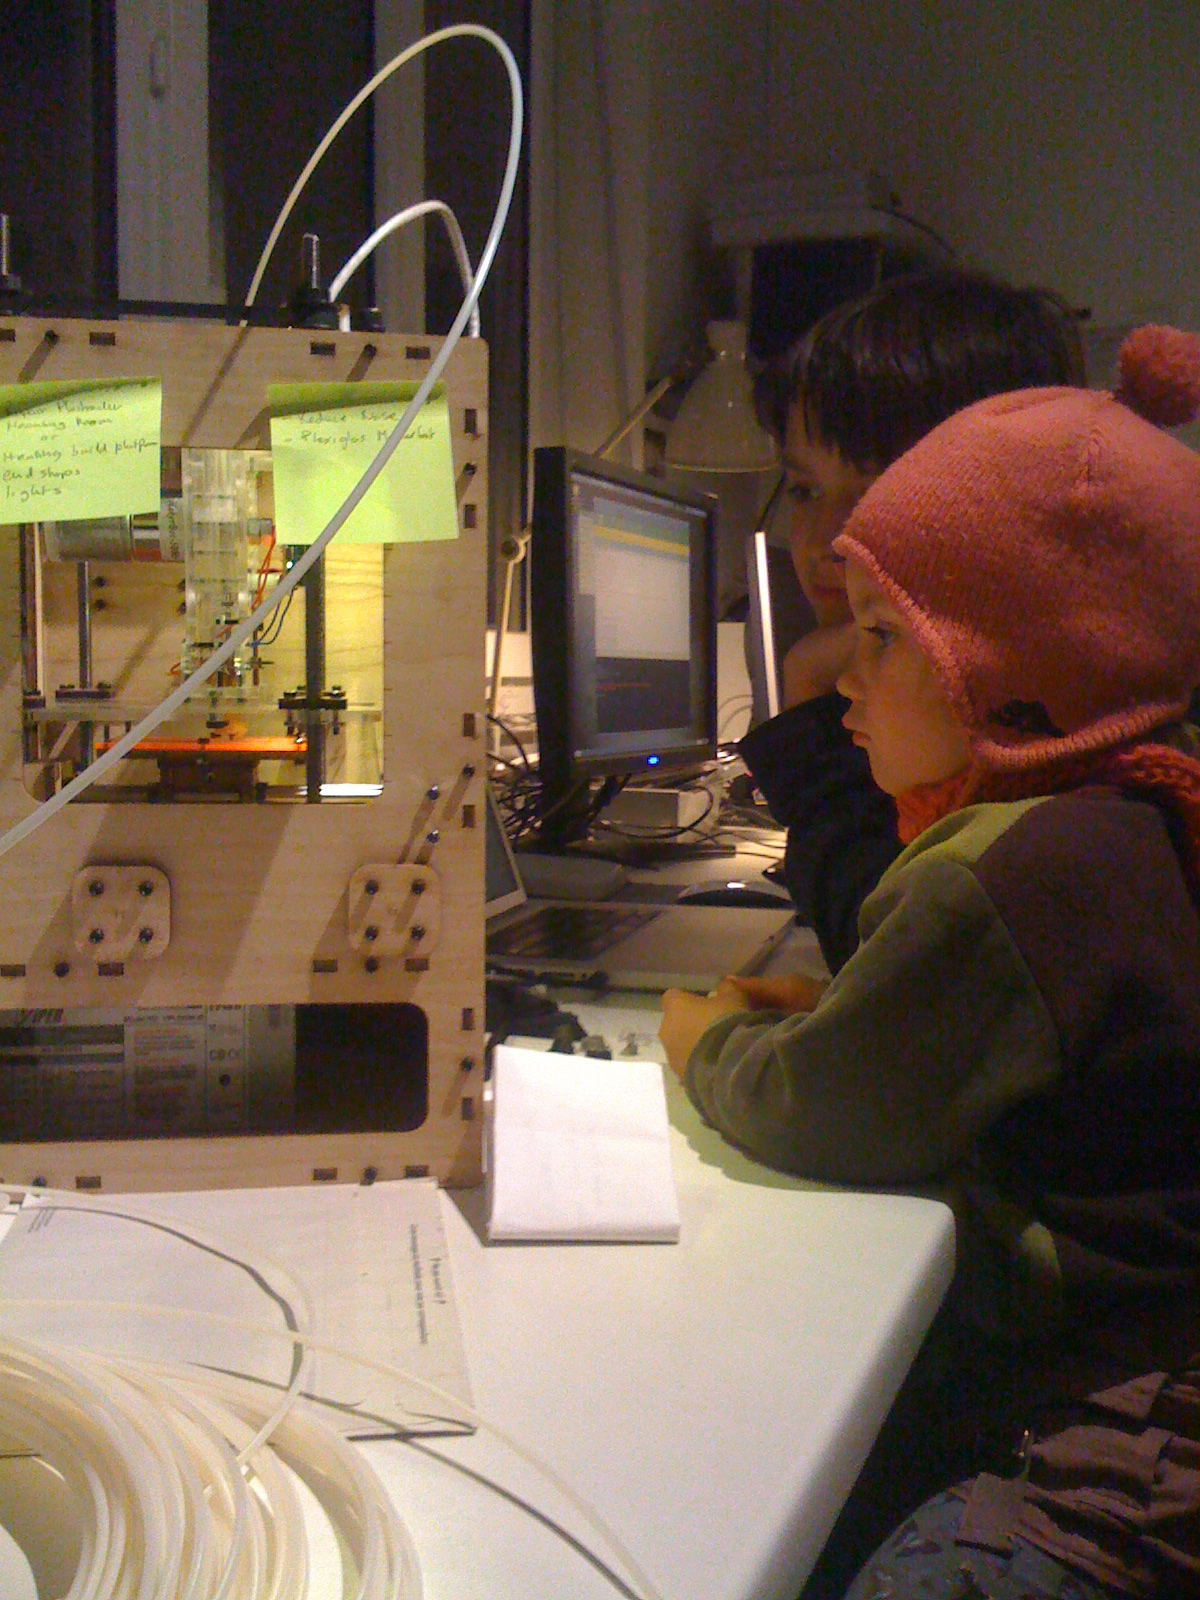
Voilà , I received a makerbot in the beginning of February. The following is the story of my adventures with this great, but at times frustrating, piece of technology.
When I ordered the printer, I was expecting a tool and not a toy. I strongly hoped that I would be able to print my own parts for bots, prototype and so on. I believe I will now be able to use it as a tool, but it took some work and tinkering to get there.
When the package arrived, I had to wait 2 more days before starting to build the machine. But then, I forgot all my duties and dove deep in the assembly for what turned out to be a long evening of happiness. I can easily relate this moment with my child memories: spending days and night with legos, mekanos and computers, where the conscience is a perfect mix of dreams and reality.
Building the printer was easy. It’s pretty well explained on wiki.makerbot.com. The parts are precise and well designed.
Except for some details with the plastruder and the inversion of two motor axis, everything worked out of the box.
However, I experienced pain with the software. Skeinforge is a complicated software, because 3D printing by extrusion is something complicated. But Skeinforge is also a bit immature and performances are not that good.
Anyways, finally I was able to print little pieces. However, when I tried larger pieces or more complicated forms, the plastruder jammed. It took me a while to understand the multiple origins of this problem:
1. the plastruder
Assembling the extruder isn’t that difficult as long as you understand what really matters !
It is well documented on the internet, but I think it’s worth telling again.
Two mechanism are fundamental : 1. the ABS filament propulsion
The force which causes the extrusion has to be powerful and constant. Makerbot industries produced a new pulley gear which improves this aspect.
It turns out after a short while that the idler bearing brike because of the excessive forces bearing on it.
To make it push ‘like a charm’ I had to check the following points twice :
– the idler pulley is stable and well aligned with the motor pulley (which is not so easy, I used spare washers)
– the motor pulley used should be the MK5 model, the new one
– washers around the idler bearing should be oriented to produce as little friction as possible
– the gad between both pulleys is tight and correct (use the calibration tool to check)
– everything is well tightened
It should be very difficult (and not recommended) to keep the filament from going forward through the pinch system.
2. the linearity of the filament’s path through the insulator to the heater barrel
When the heat is on, it happens that the PTFE insulator expands with the effect to let ABS matter leak between the insulator and the heating barrel. The more material leaks, the wider the gap grows.
When the insulator inflates it becomes impossible to extrude.
Digging the web I found two solutions :
– Using PEEK insulator instead of PTFE seams to improve durability (I haven’t tried this yet, my parts have just arrived)
– Tighten the insulator with a hose clamp (which I did on my old defunct PTFE insulator)
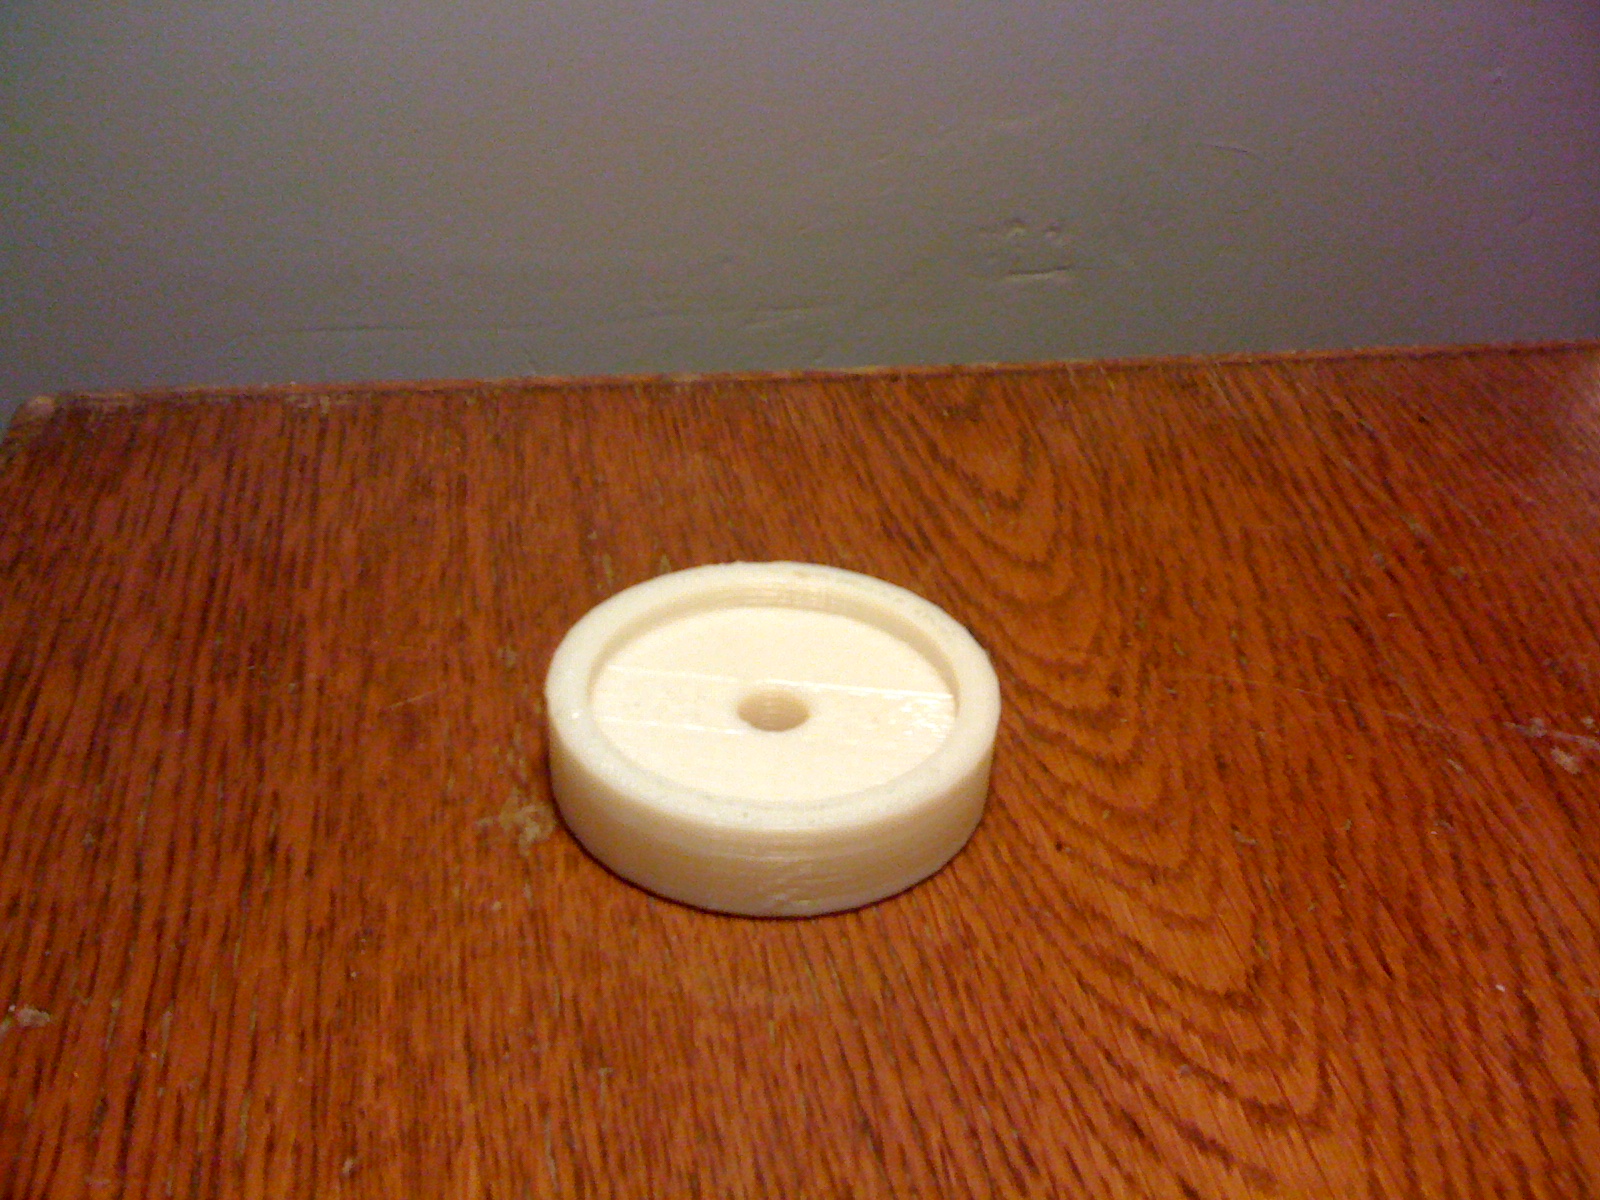
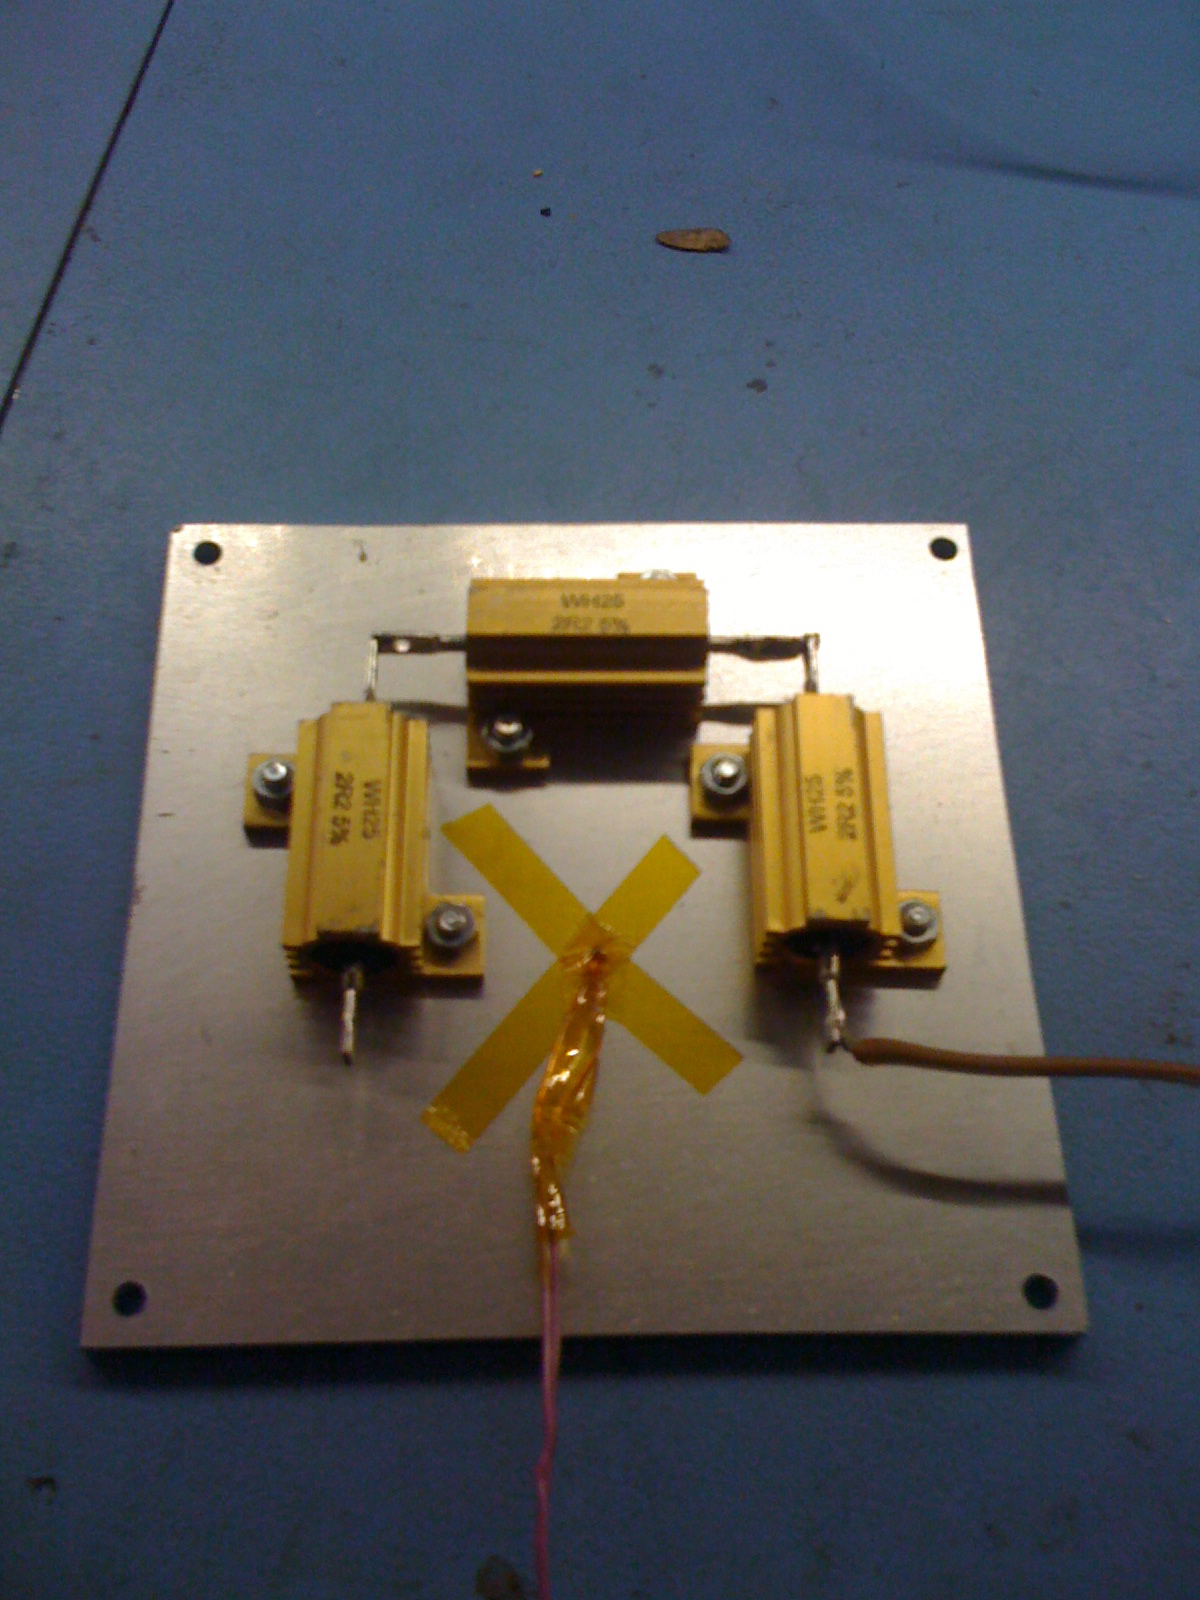
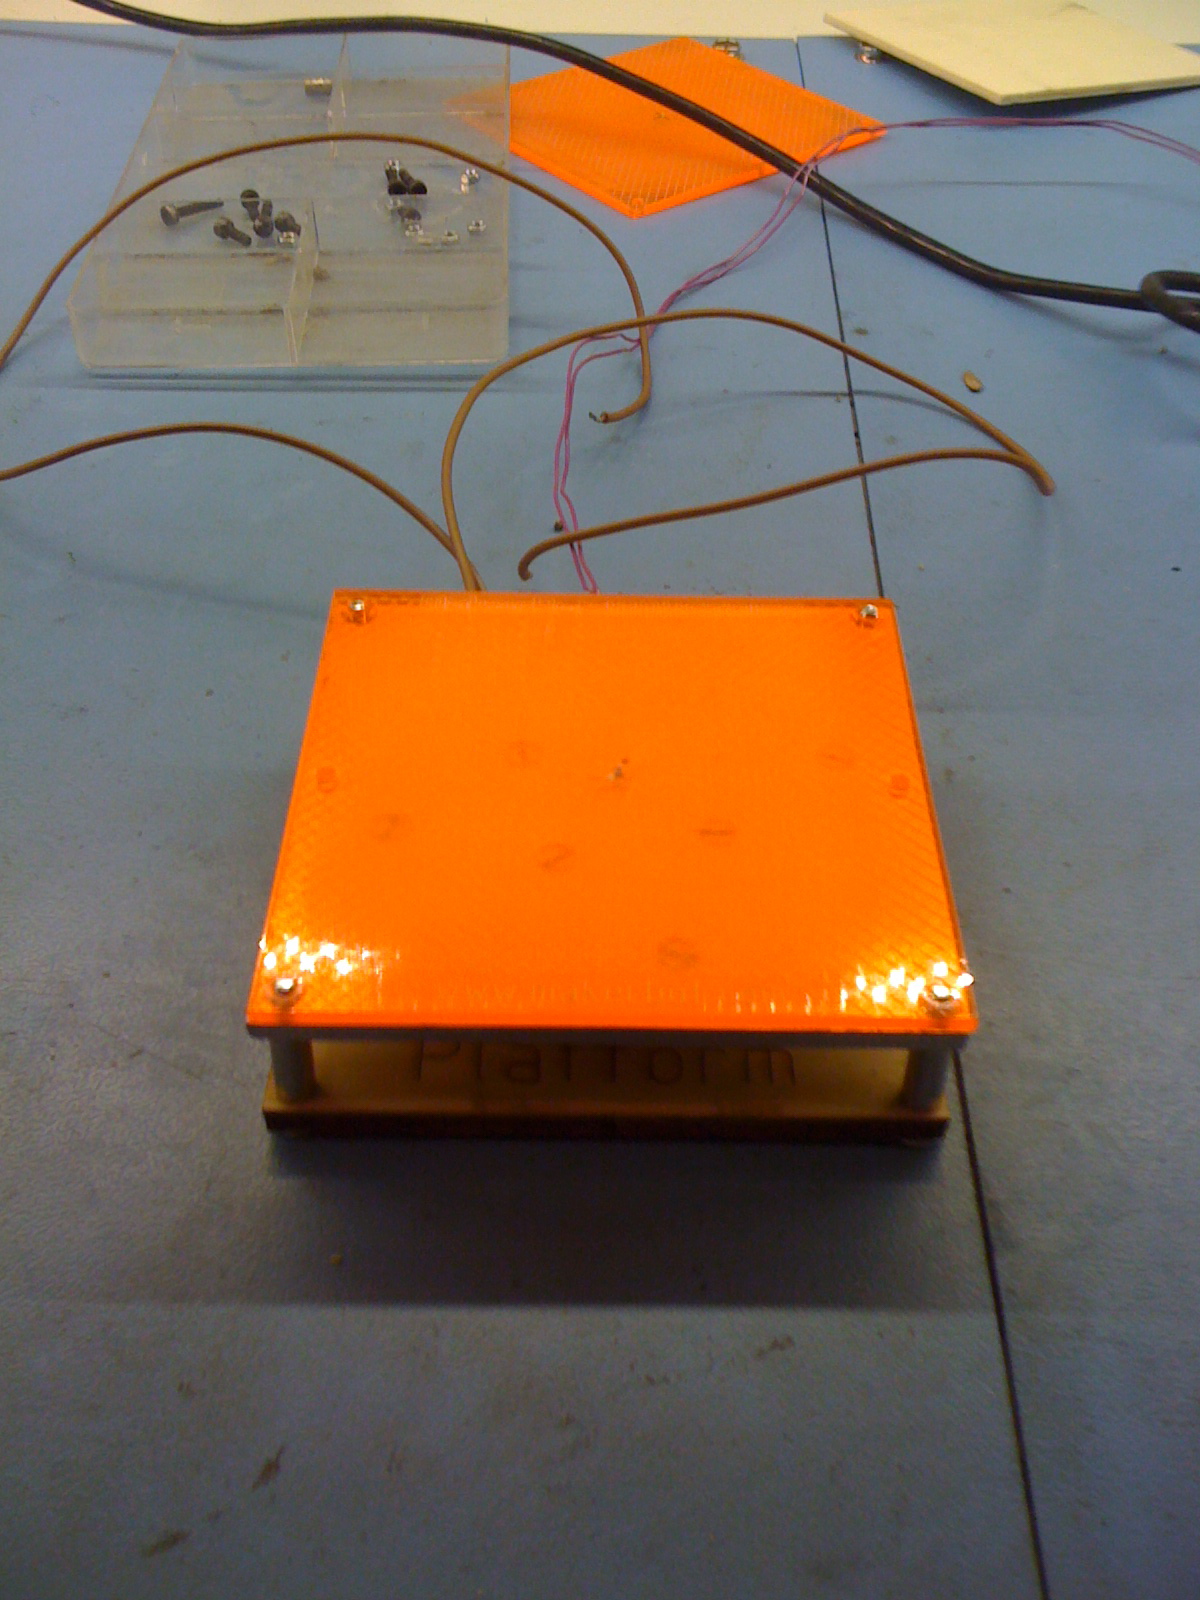
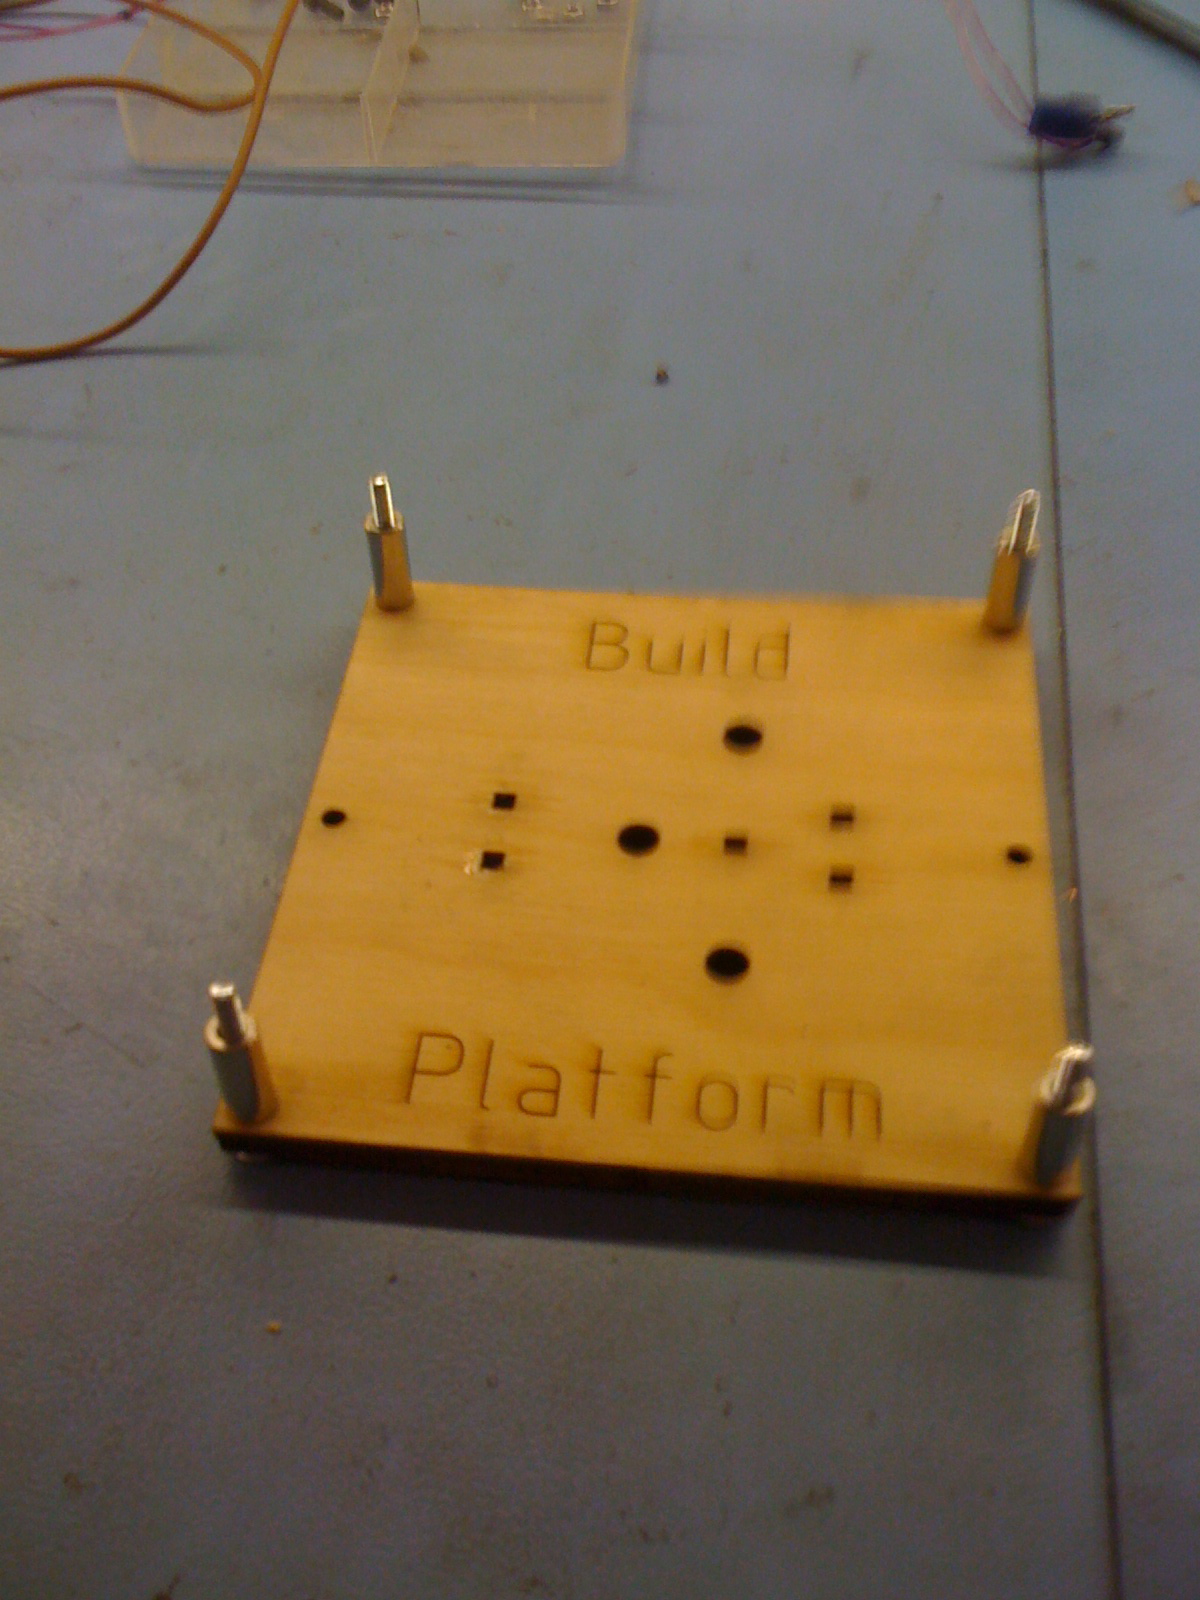
3. the heating platform
A heating platform is a good choice. Mine is made of 3 8ohm resistors setup in serial.
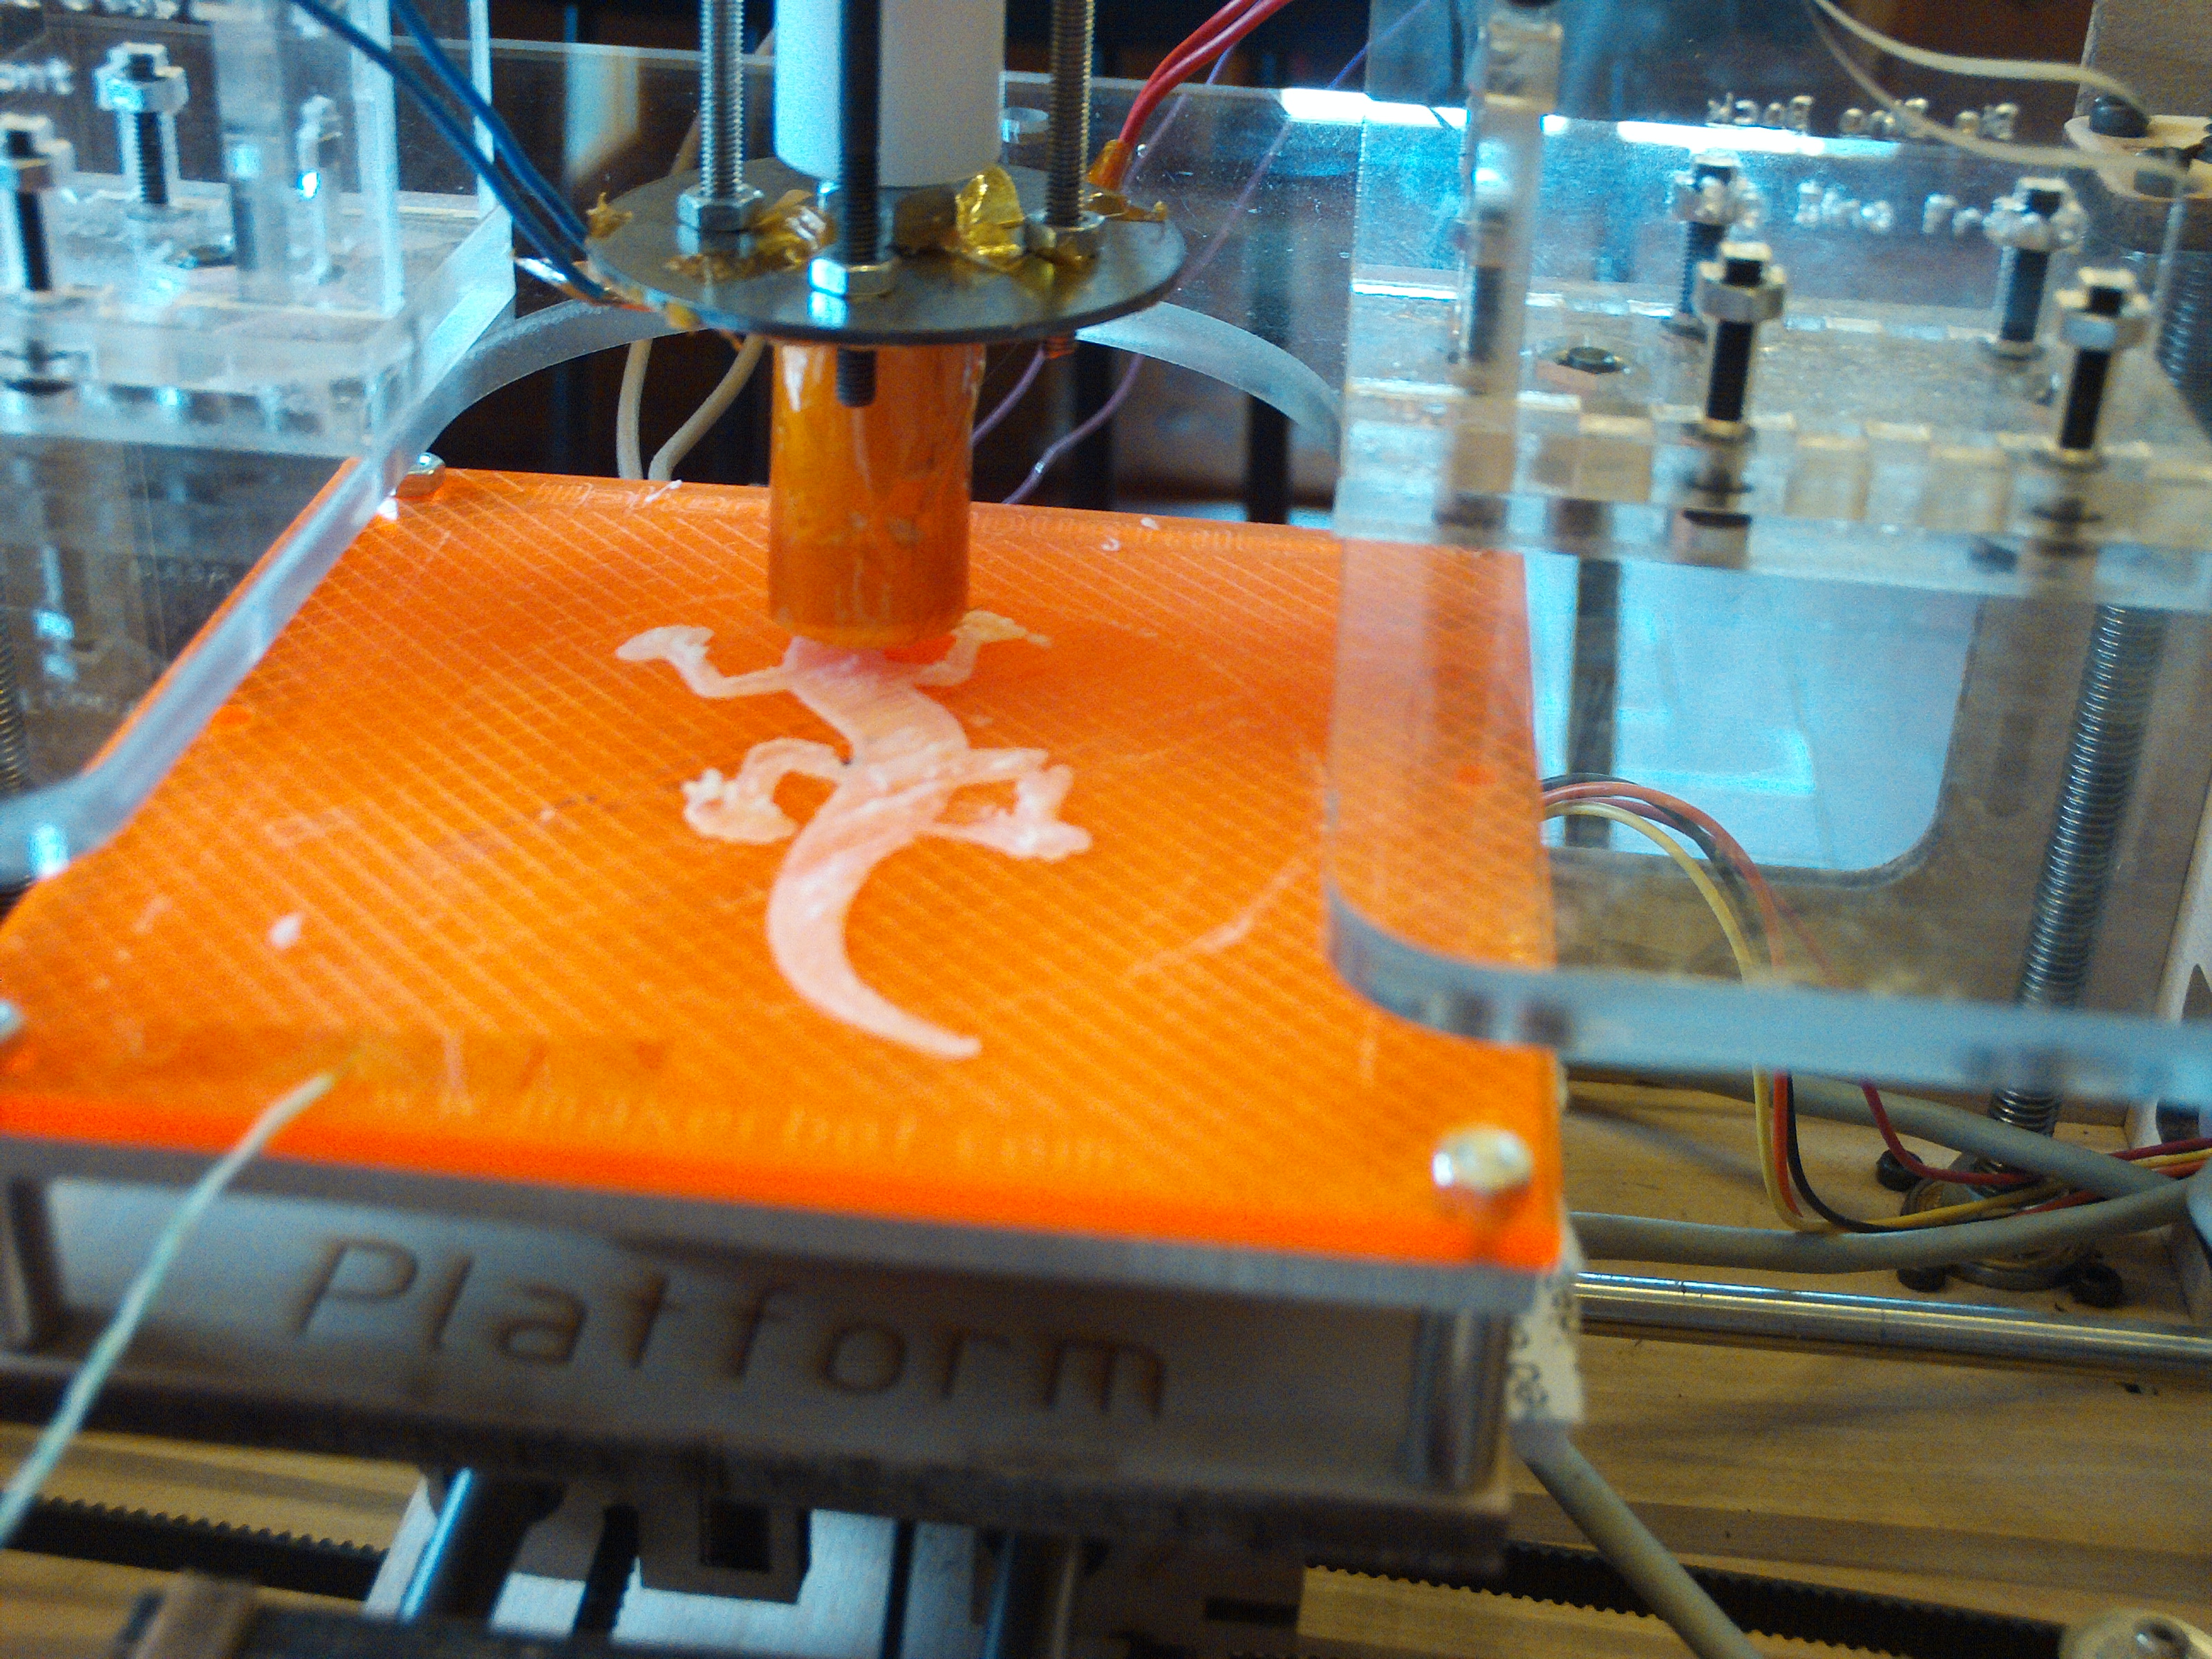
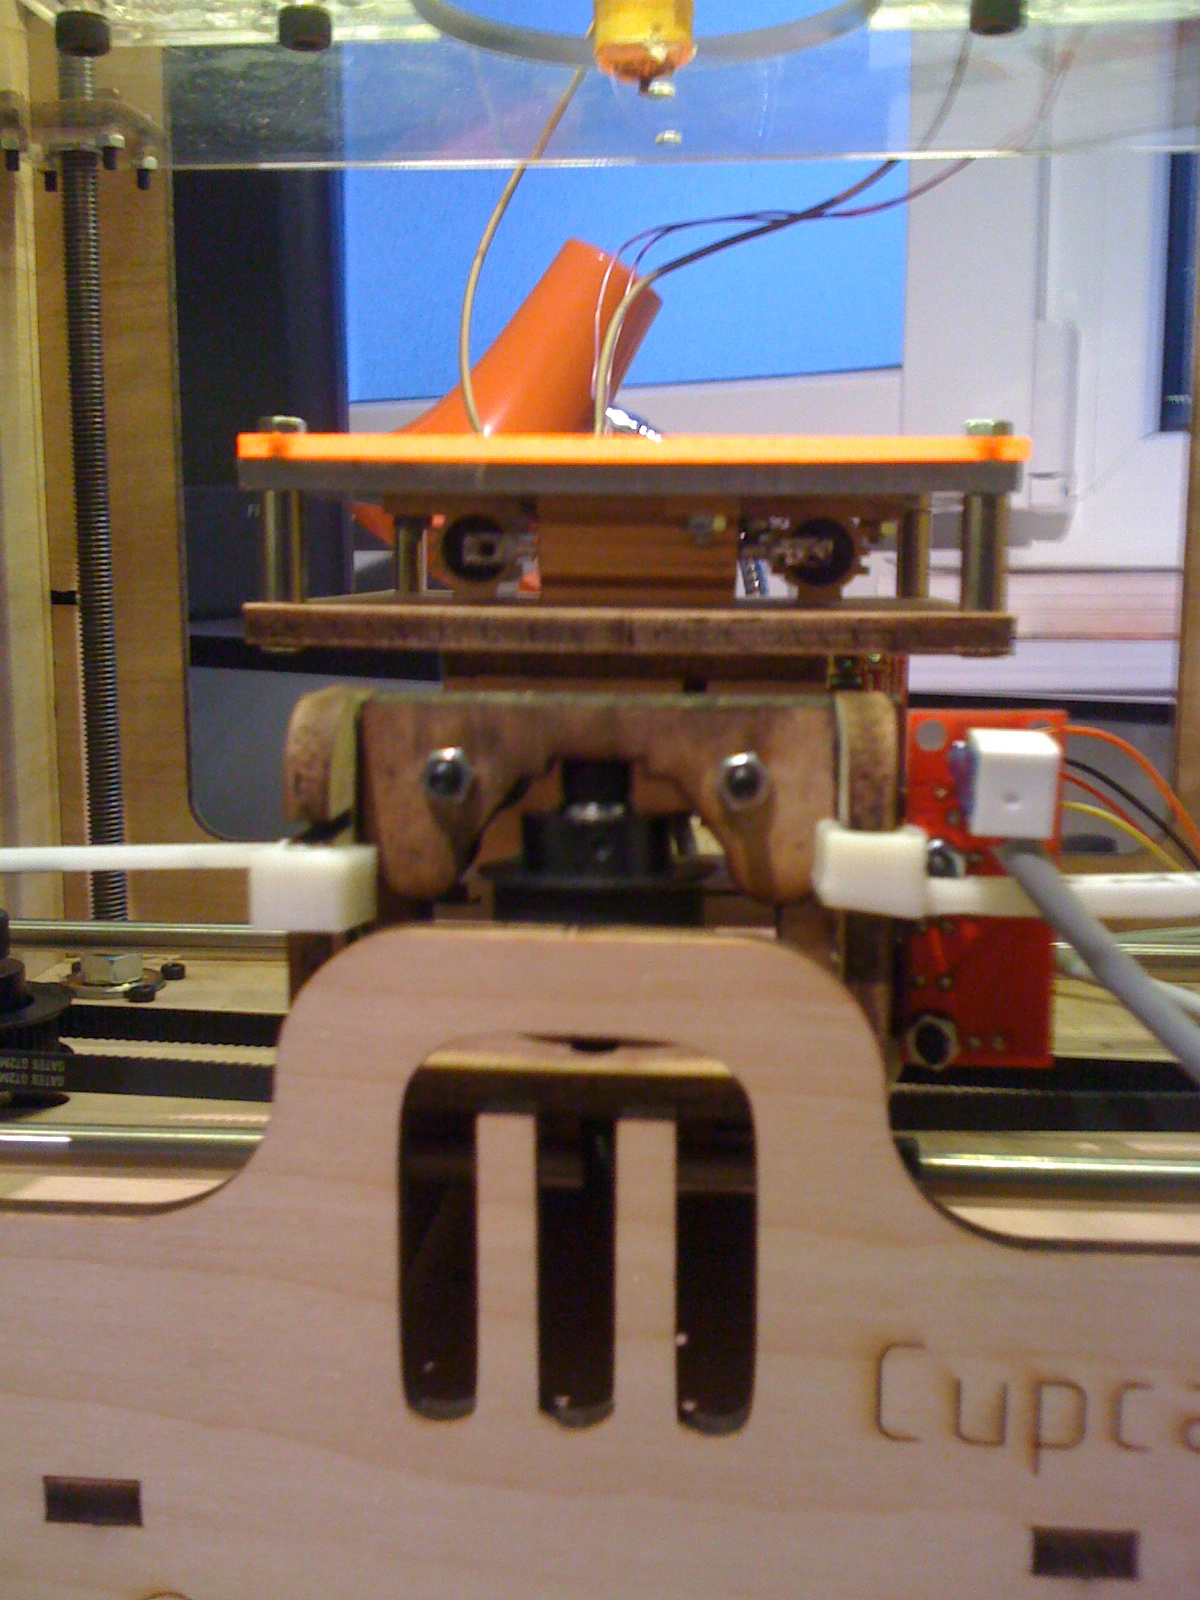
With theses two adaptations, I’ve been able to print almost everything.
ReplicatorG
Working with skeinforge’s configuration was a bad adventure. Fighting with parameters and struggling with weak performances isn’t easy at all.
Hopefully the new ReplicatorG can hide all those details for beginners and grumpy guys like me.
Tonight is the first time I could print in peace and reliably, without worries, which explains my motivation in writing this post. I’m happy and looking forward to finding lots of real use for my printer. Thanks to makerbot industries and thanks to all the makerbot owners who helped me find a solution.
After printing a sierpinsky triangle on Theo’s makerbot, I thought it might interest some of you to see how I generated the geometry in blender.
However, before starting I should warn you that my knowledge of Blender is virtually non-existent. The blender specific code used here to generate faces is probably not ideal and you’re very welcome to improve that part.
So, what do we want to do? Make triangles, lots of them. We probably need a function to generate triangles. Let’s stay simple and assume that a triangle is composed of 3 points. We are in a 3d space so each point will have 3 components. We shall refer to these points as Vertices. There are many ways to represent this type of data in Python. For something different, let’s try namedtuples. They provide an elegant extension to the base tuple type. They work as follows:
from collections import namedtuple

Vertex = namedtuple('Vertex', 'x, y, z')  # define vertex 'type'

v1 = Vertex(0.0, 0.0, 0.0) # define a Vertex tuple, with positional arguments

v2 = Vertex(x=0.0, y=0.0, z=0.0) #define a Vertex with named arguments

x, y, z = v2    # unpack as regular tupple

x = v.x   # accessible with named parameter
We can now define our triangle function
#import blender bindings
import Blender
from Blender import NMesh
from Blender.BGL import *
from Blender.Draw import *


def triangle(a, b, c):
    """generate triangle geometry
       we expect a b c to be namedtuples of type Vertex"""

    ######### Creates a new mesh
    poly = NMesh.GetRaw()

    ### fill vertices
    v = NMesh.Vert(a.x, a.y, a.z)
    poly.verts.append(v)

    v = NMesh.Vert(b.x, b.y, b.z)
    poly.verts.append(v)

    v = NMesh.Vert(c.x, c.y, c.z)
    poly.verts.append(v)

    ## create a face
    f = NMesh.Face()
    f.v.append(poly.verts[0])
    f.v.append(poly.verts[1])
    f.v.append(poly.verts[2])
    poly.faces.append(f)

     ######### Creates a new Object with the new Mesh
    polyObj = NMesh.PutRaw(poly)

    Blender.Redraw()
My poor knowledge of blender doesn’t allow me to say much about this code. We basically use the api to generate a three point polygon. As said, please improve or correct this part.
Time for a first test!
#define the three vertices of a triangle
a = Vertex(0.0, 0.0, 0.0)
b = Vertex(25.0, 50.0, 0.0)
c = Vertex(50.0, 0.0, 0.0)

triangle(a, b, c)
We define three vertices for our test triangle and call the triangle function. The next step is to load the code in Blender’s text editor and to press Alt-p to run the code.
(sorry for the crappy window in the middle)
Ok, so let’s get to the meat of the problem, i.e. the recursive subdivision. I use the basic algorithm from here, and adapted it to python:
def divideTriangle(a, b, c, step):
    """ recursive divide until step == 0"""

    if step > 0:
        #compute midpoints of sides

        midpointof = lambda v1, v2: Vertex(x = (v1.x + v2.x) * 0.5,
                                           y = (v1.y + v2.y) * 0.5,
                                           z = (v1.z + v2.z) * 0.5)

        ab = midpointof(a, b)
        ac = midpointof(a, c)
        bc = midpointof(b, c)


        # divide all but center triangle

        divideTriangle(a, ab, ac, step - 1)
        divideTriangle(c, ac, bc, step - 1)
        divideTriangle(b, bc, ab, step - 1)
    else:
        #stop recursion and generate geometry
        triangle(a, b, c)
I tried to be as expressive as possible, but I have the feeling that there is something fishy in the midpoint lambda. I guess it could be simplified. But it will do for now. Let’s put it all together, and see what we get in blender.
from collections import namedtuple

import Blender
from Blender import NMesh
from Blender.BGL import *
from Blender.Draw import *


Vertex = namedtuple('Vertex', 'x, y, z')


def triangle(a, b, c):
    """a b c are of type Vertex"""

    ######### Creates a new mesh
    poly = NMesh.GetRaw()

    ### fill vertices

    v = NMesh.Vert(a.x, a.y, a.z)
    poly.verts.append(v)

    v = NMesh.Vert(b.x, b.y, b.z)
    poly.verts.append(v)

    v = NMesh.Vert(c.x, c.y, c.z)
    poly.verts.append(v)

    ## create a face
    f = NMesh.Face()
    f.v.append(poly.verts[0])
    f.v.append(poly.verts[1])
    f.v.append(poly.verts[2])
    poly.faces.append(f)

     ######### Creates a new Object with the new Mesh
    polyObj = NMesh.PutRaw(poly)

    Blender.Redraw()


def divideTriangle(a, b, c, step):
    """ recursive divide until step == 0"""

    if step > 0:
        #compute midpoints of sides

        midpointof = lambda v1, v2: Vertex(x = (v1.x + v2.x) * 0.5,
                                           y = (v1.y + v2.y) * 0.5,
                                           z = (v1.z + v2.z) * 0.5)

        ab = midpointof(a, b)
        ac = midpointof(a, c)
        bc = midpointof(b, c)


        # divide all but center triangle

        divideTriangle(a, ab, ac, step - 1)
        divideTriangle(c, ac, bc, step - 1)
        divideTriangle(b, bc, ab, step - 1)
    else:
        triangle(a, b, c)


#main

a = Vertex(0.0, 0.0, 0.0)
b = Vertex(25.0, 50.0, 0.0)
c = Vertex(50.0, 0.0, 0.0)

divideTriangle(a, b, c, 5)
and in blender: Sierpinsky triangle with 5 levels of subdivision
All done : )
I leave the extruded version as an exercise for the reader.
OK.
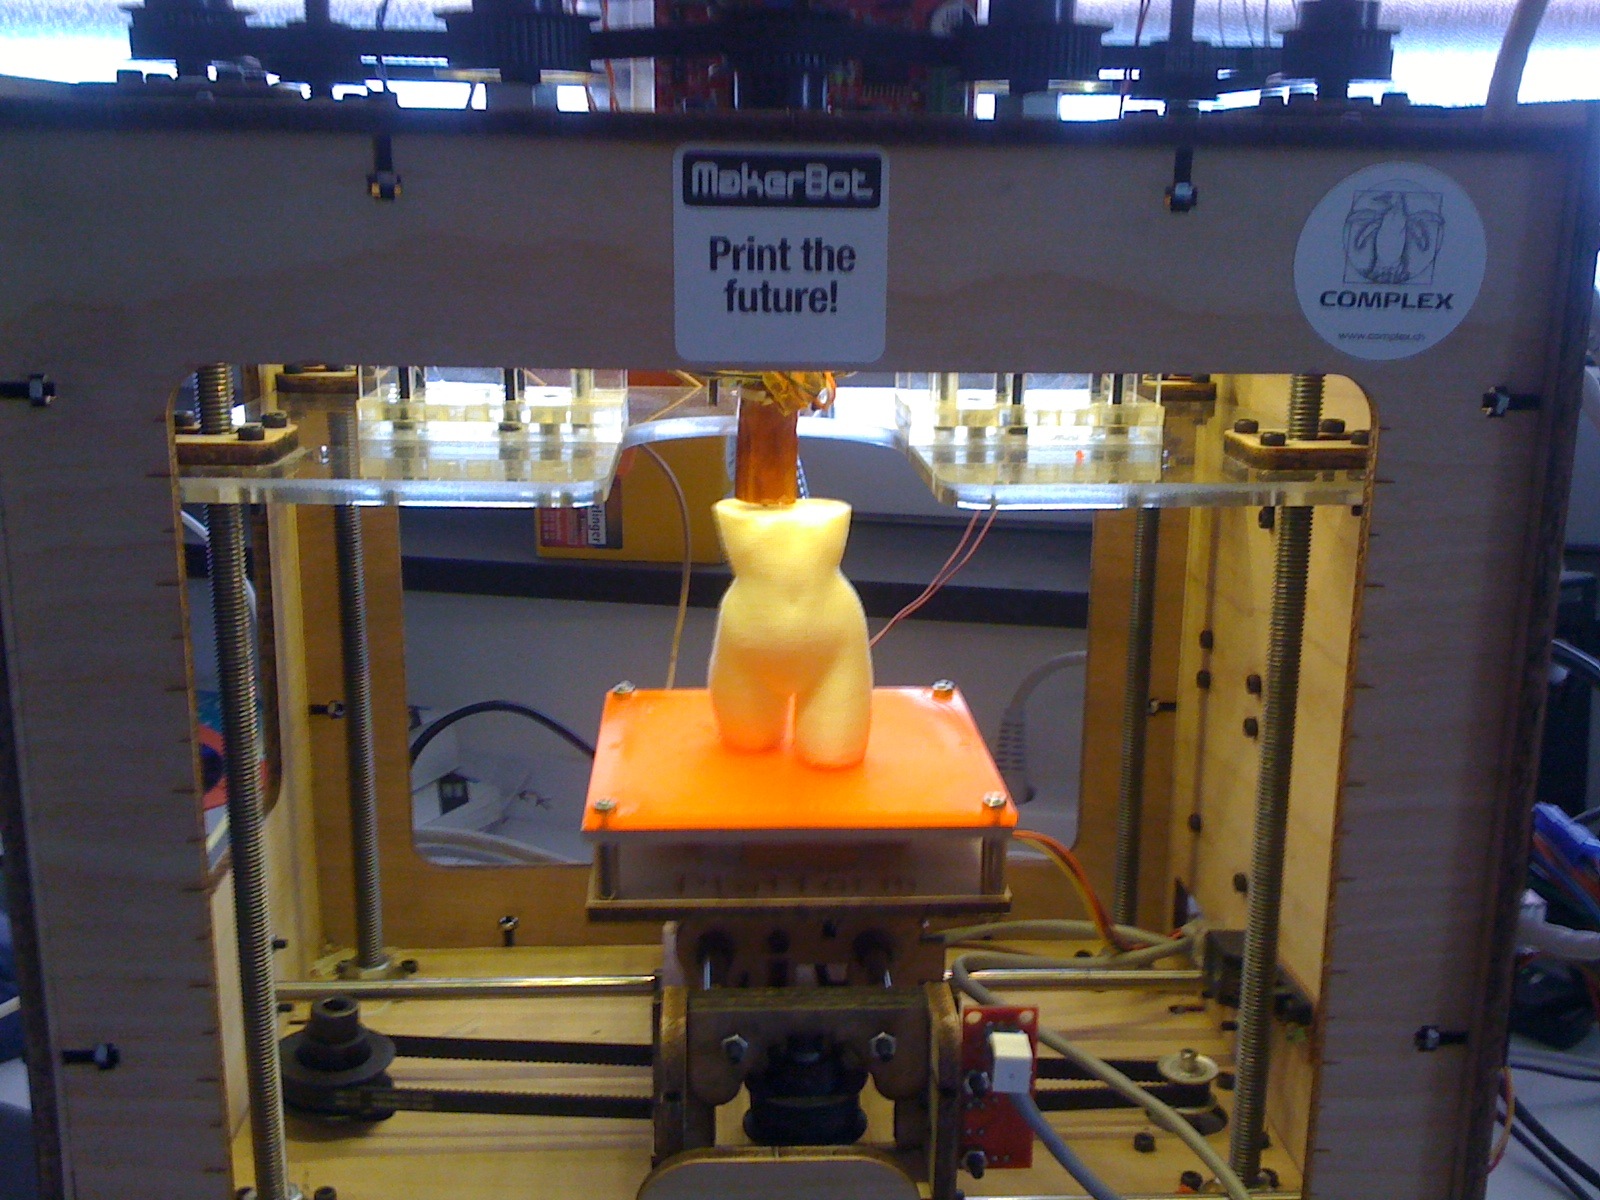
You don’t know it yet because I haven’t bloged it, but I received a nice cupcake from Makerbot industries yesterday. The box is already built and it prints pretty well.
This post proudly announces the 3D printing thursday.
I believe people who don’t have access to 3D printer but have ideas that need to be solidified should come and see the revolution in motion.
So, it’s every thursday from tomorrow to infinity, Complex ai, 5 Rue des Maraîchers, 1205 Genève, Suisse.
It starts at 19:00
If you want to print stuff (I hope so), you are invited to come with .stl file (USB, internet, whatever) instead of just ideas. I don’t know much about 3D and I’m not able to realize phantasms with modeling software. So please, bring them with you otherwise than in your head. Make it REAL, tangible, touchable, usable !
“fire to the makerbot !“. Many thanks to MakerBot Industries to 3D printing and happiness that comes along.