wheel wheel wheel, aluminium

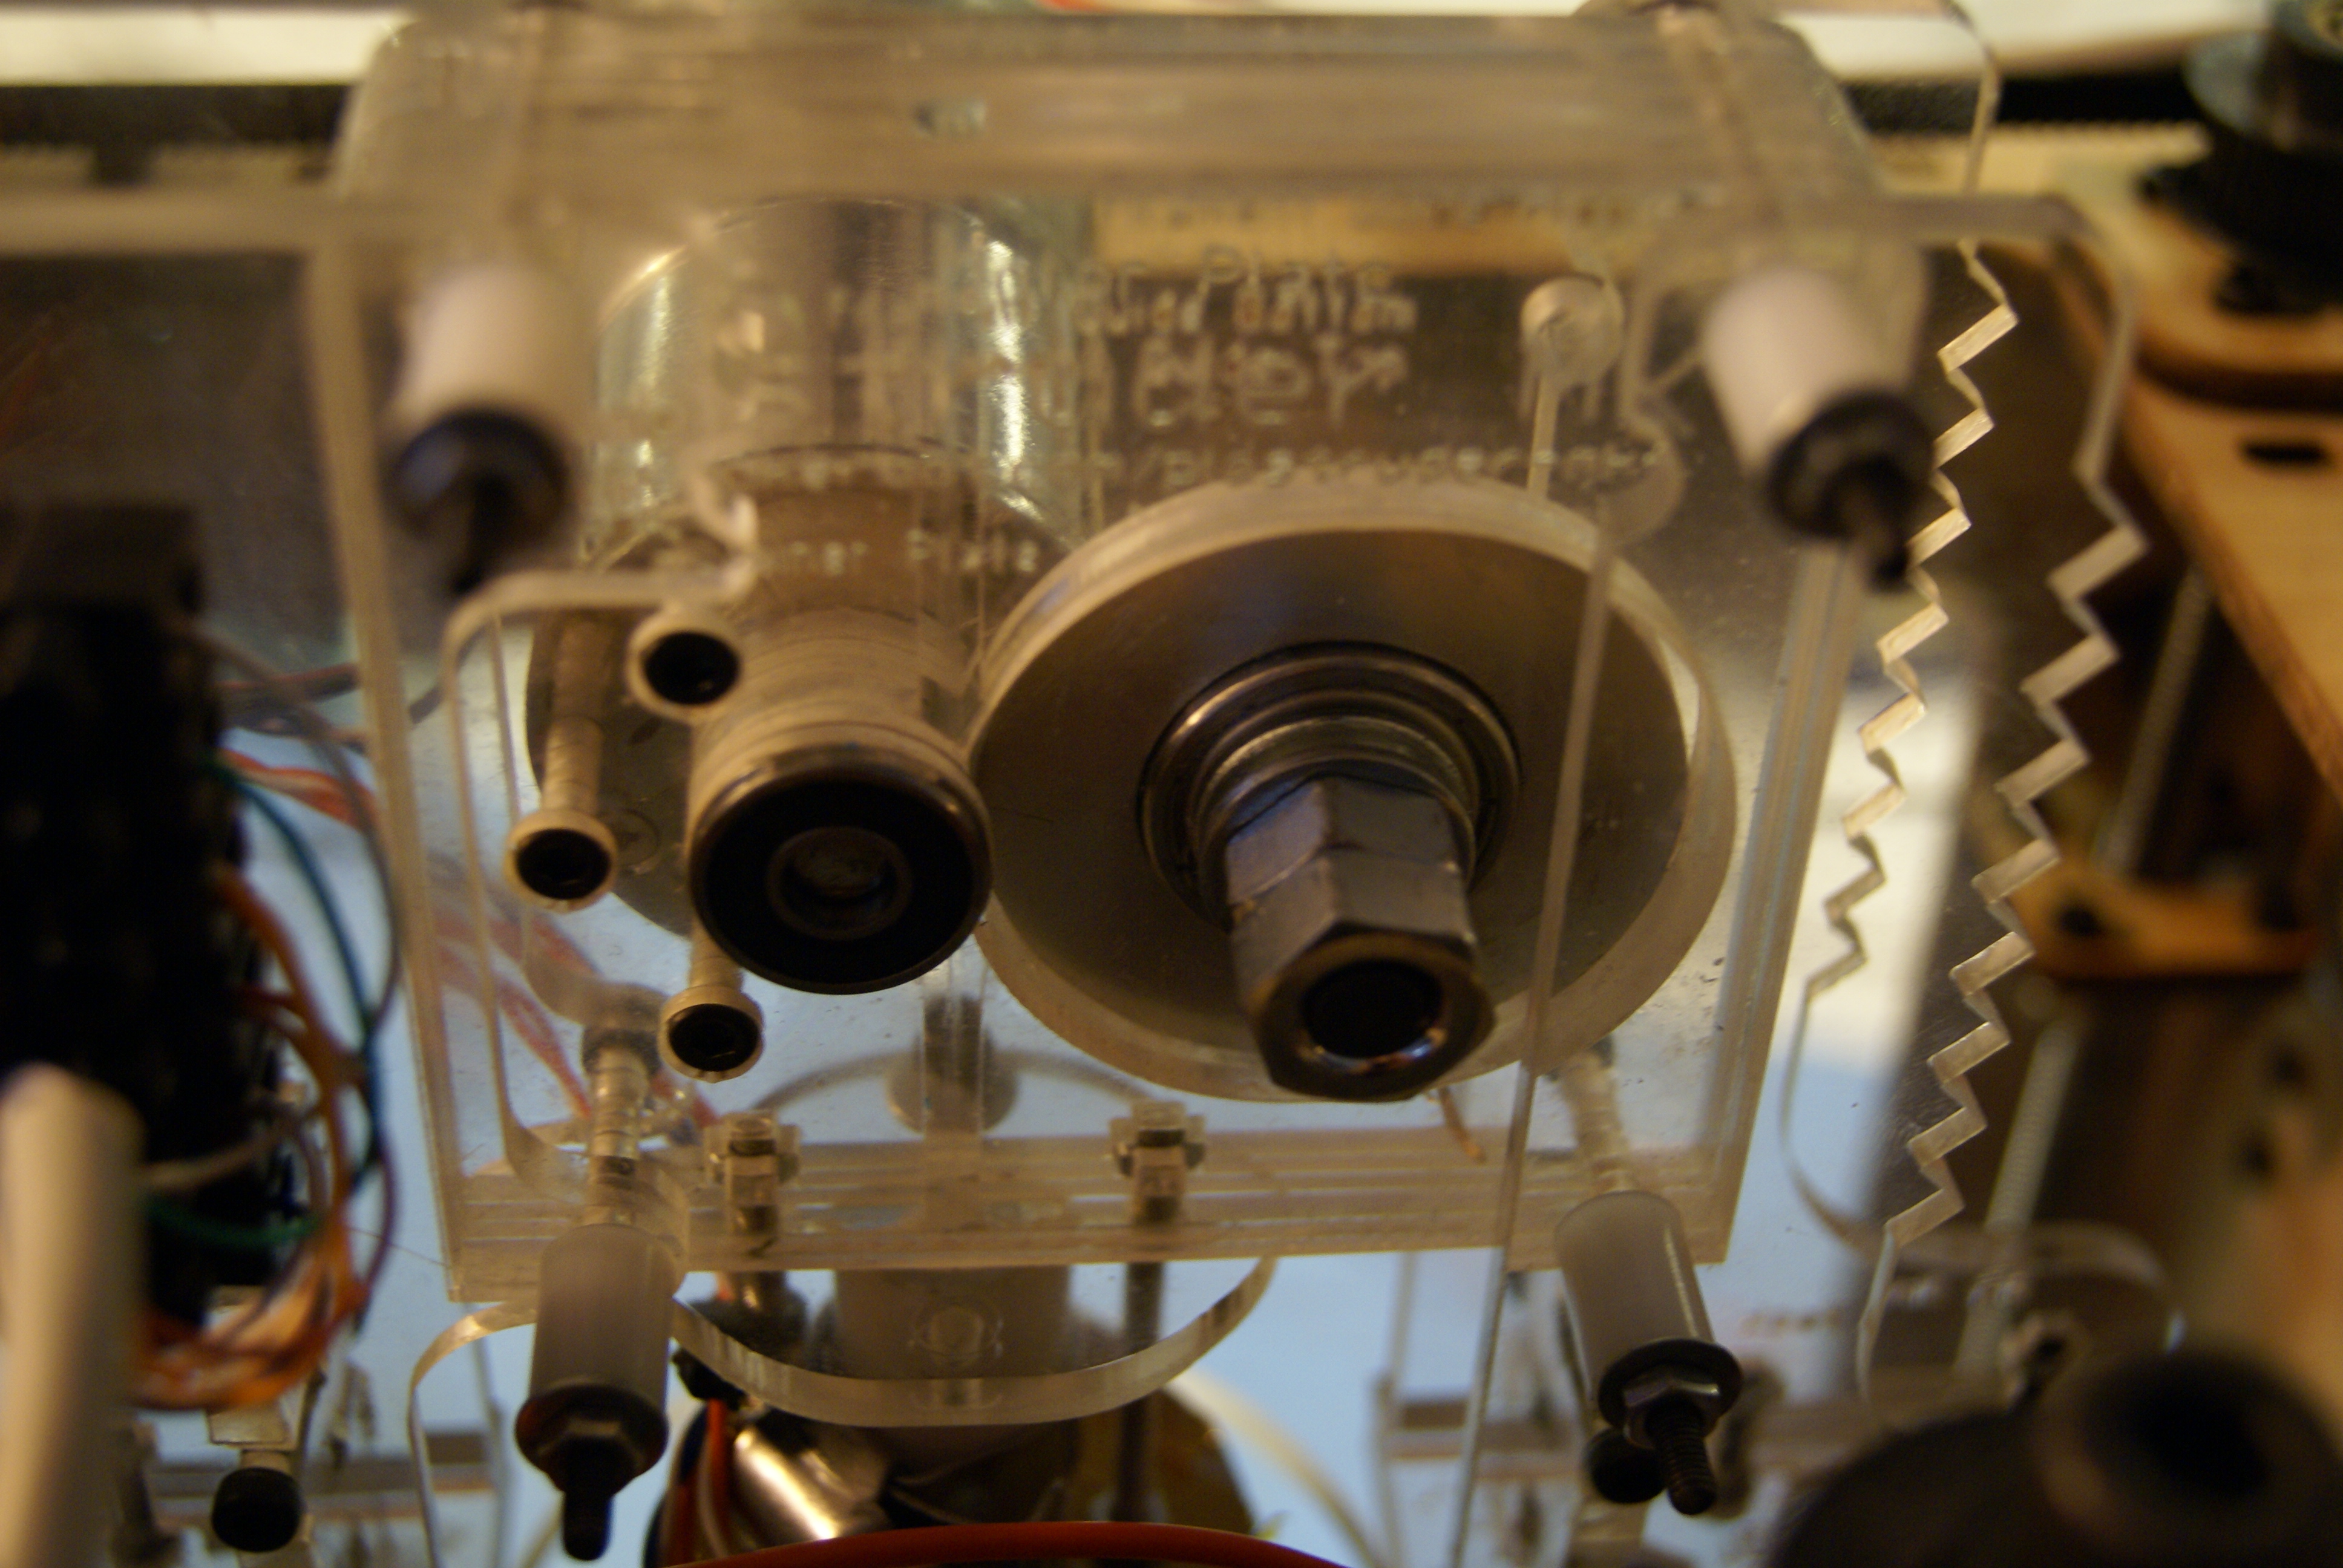
Well, I made a replacement in aluminium for the acrylic idle wheel of my makerbot.
After breaking two acrylic wheel, I decided to change the last “weak” part (cross finger).
I don’t have easy access to a lathe or CNC (for the moment, cross finger), so I decided to re-use my punk skills on doing hardware.
Actually, it worked pretty well.

1. draw two circles that correspond to this thing on a 5mm aluminium plate
2. drill the center with the biggest drill you have (12mm in my case)
3. use a half round ring file to expend the ring to your drawing (a Dremel to speed up)
4. cut the external ring using a jigsaw, goggles and safety gloves
5. reduce the external ring using a sand paper/grinder ribbon
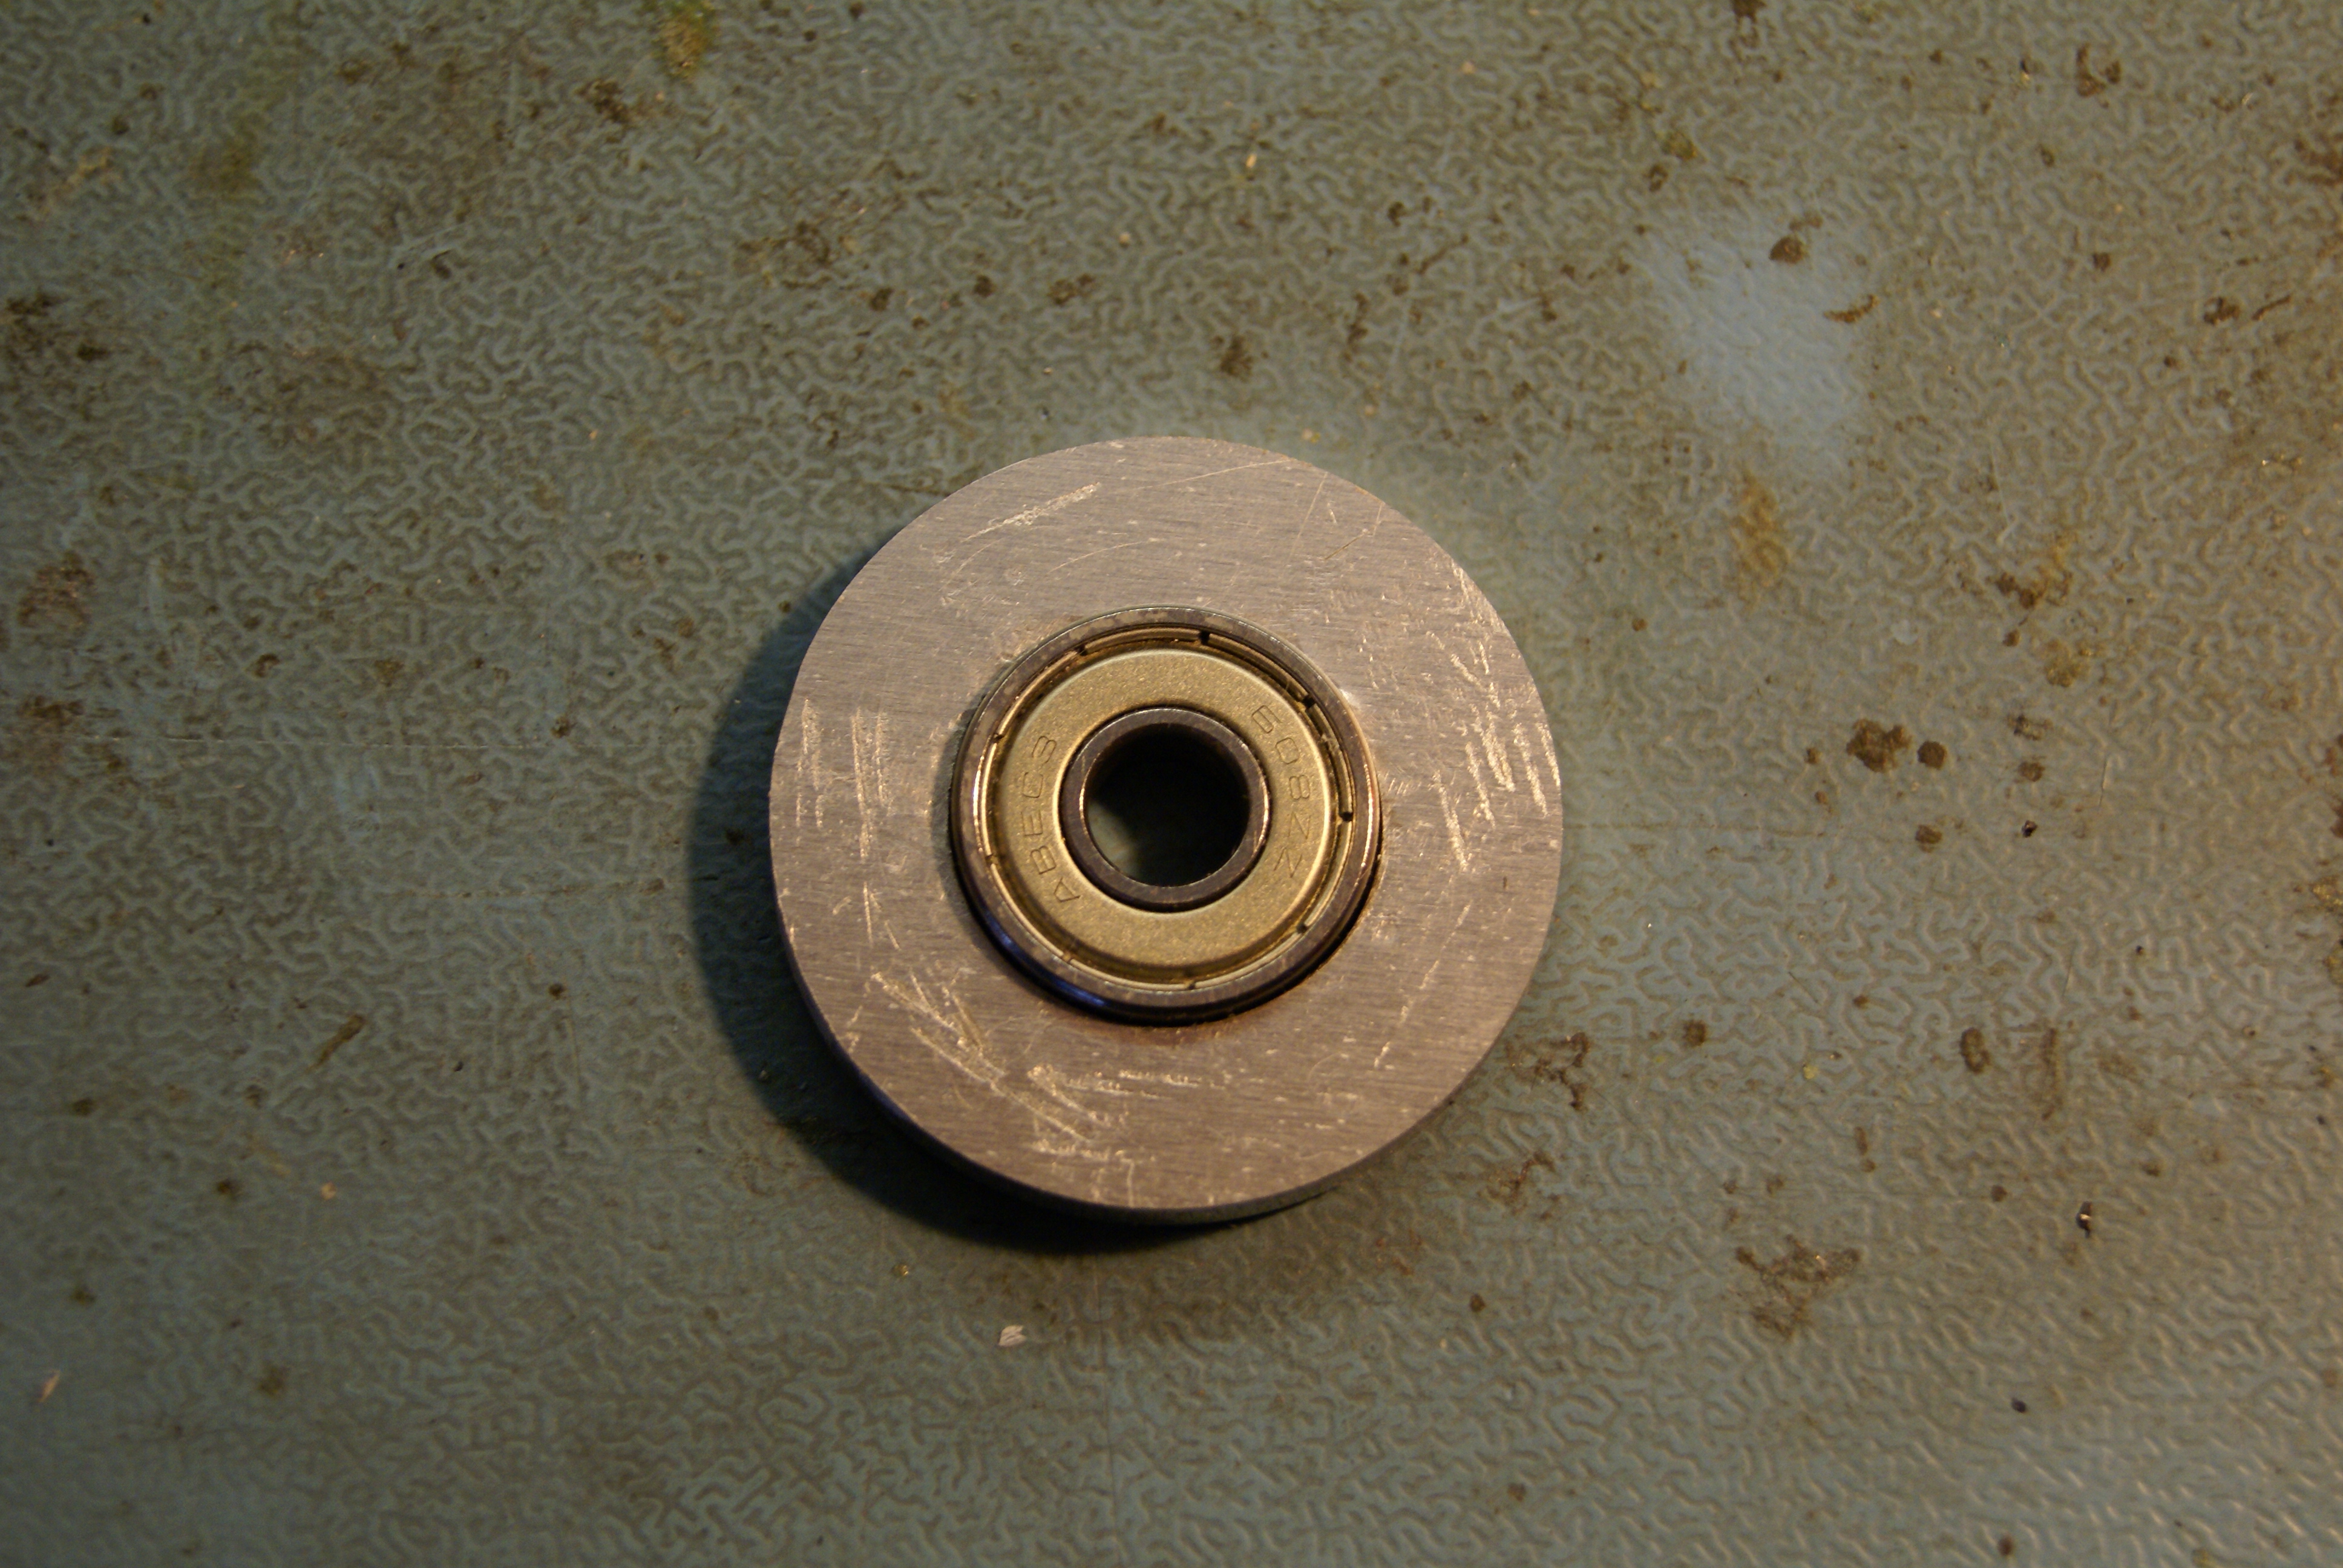
6. paste the ball bearing in you piece of aluminium using a good glue (loctite)
7. insert a long M8 screw in the ball bearing and make is turn on the sand paper ribbon with an angle of 45°. After few turns, the piece should be round enough and well centered.

Punk’s not dead.

The smartest intervalometer

Some months back, I was asked to build an intervalometer to make a timelapse movie of the evolution of the metamapping.

Back then, there was a lot of things to do and I didn’t had my electronic stuff on site, so this movie was never made ( Even if it was not a complicated request : triggering a DSLR from an arduino is really easy, there is even different solutions).

Since then, as a regular hackaday reader, I found a post about a minuscule intervalometer for Canon, Nikon and Pentax cameras developed by Achim Sack.

It is just a small connector with only 3 (three) components. It steals the power from the two signal lines of the camera, and set the interval is as complicated as taking two pictures (read the link if you want more details).

I found this design so elegant, minimal, cheap and convenient to use that I decided to build some for all the people doing photography around me.

I didn’t succeeded in making them fit in the connector body (I didn’t got the same connector than Achim) so I have put  heat shrinkable tube around.

It work so well that I had no choice but buy a real DSLR camera 🙂

Time to learn what theses aperture and focal things are about… (you can expect better pictures in my future posts!)

So many thanks to Achim Sack for this work, and if somebody is interested for using one, drop me a mail.

Arduino simple command line interface [edit]

I blog therefore I am…

Long time now that I hack around here but I never really took the time to publish or document my work. Let’s change that!

It’s been a while that I was thinking about it, but as I was starting another arduino (for blog cred.?) project, I decided to take the time to implement a small command line interface for arduino. Continue reading Arduino simple command line interface [edit]